
Rose is a symbol of love. The designs related to rose have a great demand. Rose line art as a portrait wall art increases the aesthetics as a part of home decor. If you turn your eyes on art products’ marketplaces, you will get so many arts with rose drawings. You can easily imagine how crucial the skill of line drawing is especially rose vector drawing.
If you plan to know how to draw a rose line art from a sketch, we will recommend you to learn it from the professional tutorial. You may be misguided during learning the proper steps of the line art drawing process.
However, drawing a rose is the basis of art. Here is a common question we are always asked: how to draw a rose in vector format. And so, we have written this step-by-step tutorial by a skilled line drawing artist. You can undoubtedly go through the text tutorial and learn the right technique of drawing rose line art from sketch. Maintaining the same way, you will be able to create line art of anything in Illustrating software.
How to Vectorize A Dog/Pet Line Drawing
Rose Vector Drawing
Today, we decorate our tutorial with the answer to your common question. We use Adobe Illustrator CC software for drawing the rose. Let’ explore-
Step 1: Pick The Hand Drawn Rose
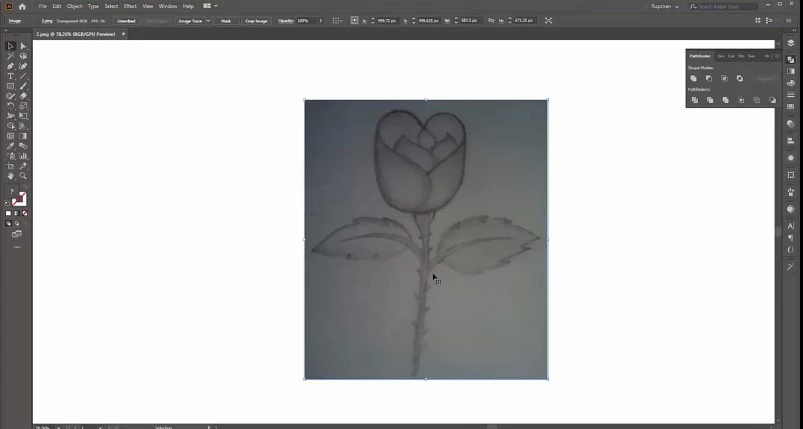
First we manage a hand-drawn rose. Pick the image into the artboard of Adobe Illustrator CC.
Step 2: Customize The Layer And Stroke
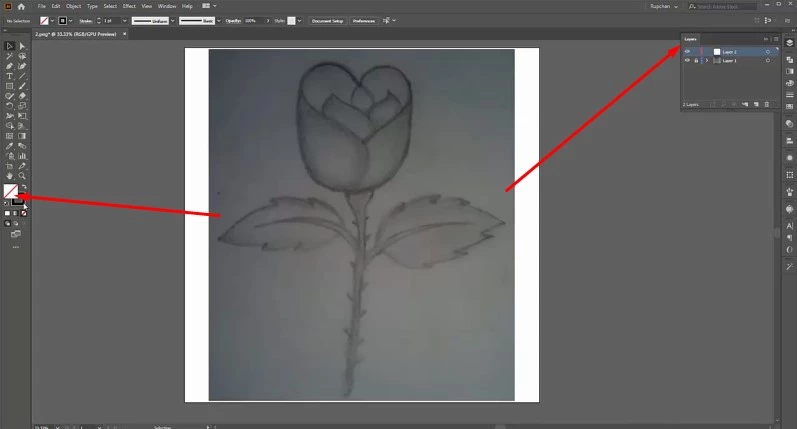
Before diving into drawing, we customize the layer and stroke properly as needed. Basically, lock the main layer and create a new one. Another thing is to lock the fill color, choose the stroke and customize it manually.
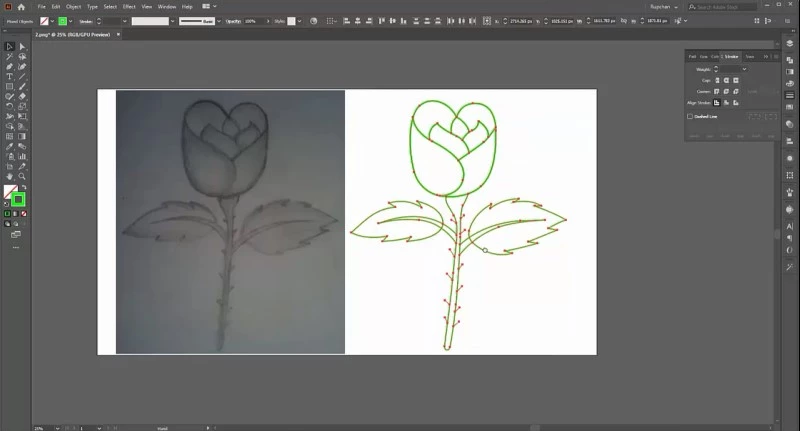
Step 3: Use of Pen Tool
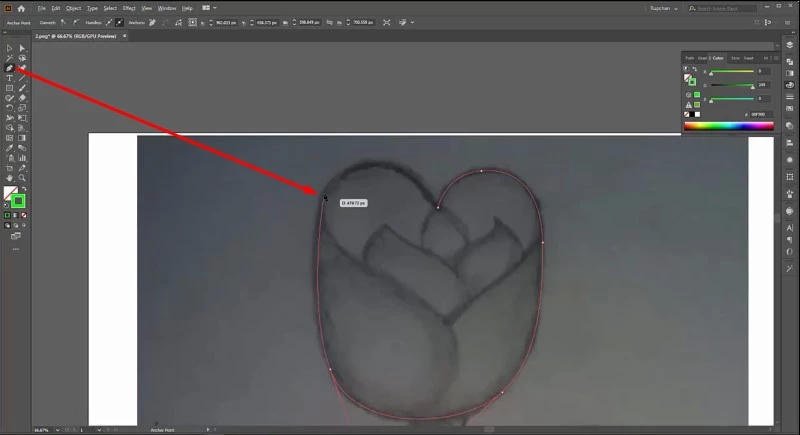
We start our drawing by using ‘Pen Tool’. It’s easy to select the tool manually or even press ‘P’ for the keyboard shortcut. Draw the path chronologically.
Step 4: Separate The Drawing
After finishing the drawing, group the full path. Now, increase the width of the artboard and separate the drawing from the hand-drawn rose.
Step 5: Expand The Path
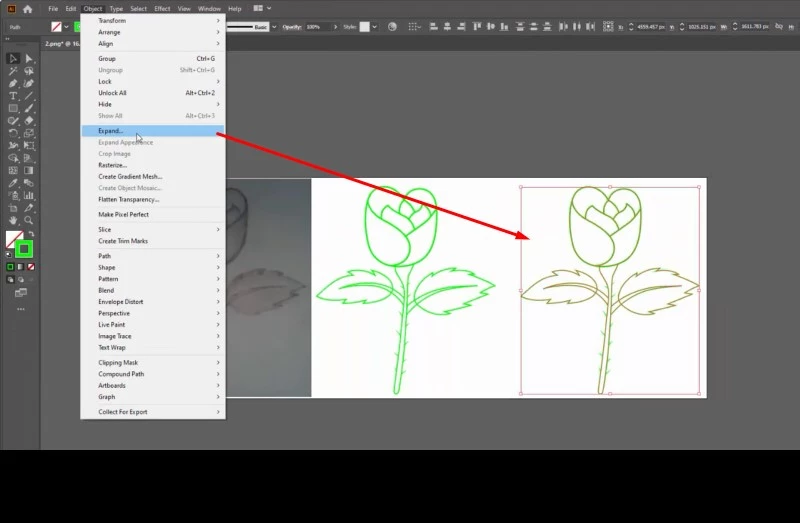
It’s time to expand the path part by part. Go to ‘Object’ and select ‘Expand’ to do so. Then we work with pathfinder.
Step 6: Background Coloring And Export The Final Output
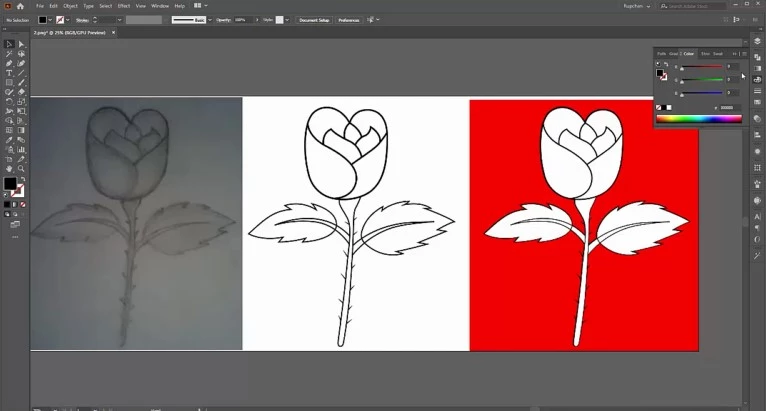
Finally, we are reaching the very endpoint. We can color the background before finalizing the drawing. Let’s save the work and export the final output as needed.
We think you got the point. Now you are able to create rose line art fluently. Don’t worry what you have learned from this tutorial is 100% authentic. Our professional vector artist has written it based on his skill and experience.
Anyway, we are the most renowned vector conversion and photo editing service providers in the world. If you need any vector design and conversion services, you may contact us for the details. We provide the best design and conversion services for the best prices. Most of our customers are photographers, designers, studios, advertisers and marketers, eCommerce and product owners, etc. who are happy having our services. We are reliable.
You can watch the rose vector drawing video tutorial here.
More Resources:
A Roundup of Vector Line Drawing Services in Illustrator and Photoshop
How to Draw Line Art (Sketch to Vector Drawing)


