Pet like a dog is our daily life partner. We often use a dog or pet line drawing. We may need a distorted free digitization file of our drawing. So, how is it possible? The best solution is vectorization. So you’ll find here the best instruction to vectorize a dog or any pet.
Vectorize a dog
In this ‘how to’ blog we want to disclose the step-by-step process of vectorizing a dog/pet line drawing where we use the design software Adobe Illustrator. Let’s explore.
Step 1: Take a dog image
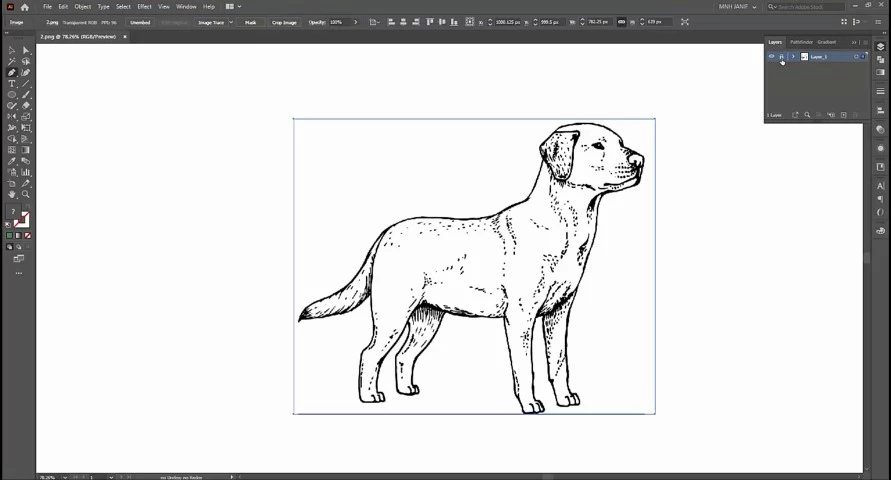
First, choose a dog image. Then open it on the artboard of Adobe Illustrator CC.
Step 2: Customize the Layer and Stroke
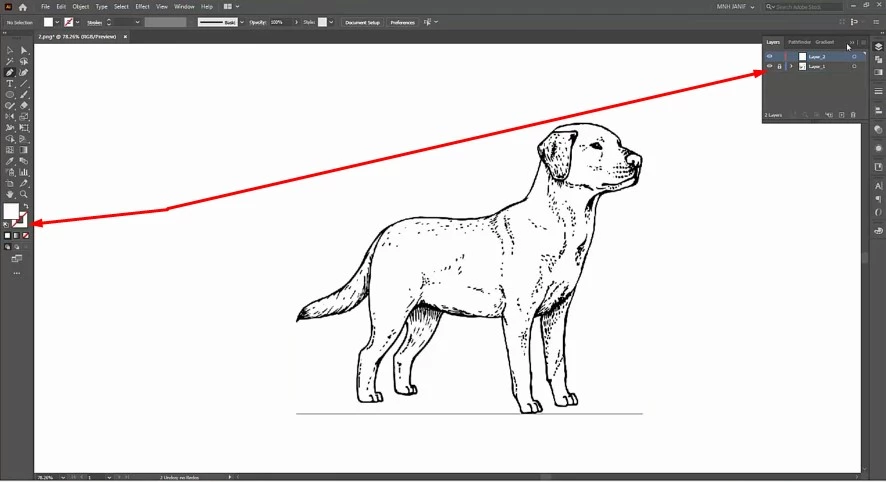
Customizing the Layer and Stroke is the most important pre part to vectorize. Lock Layer 1 and create a new layer- Layer 2. On the other hand, lock the Fill Color and select the Stroke.
Step 3: Draw the path
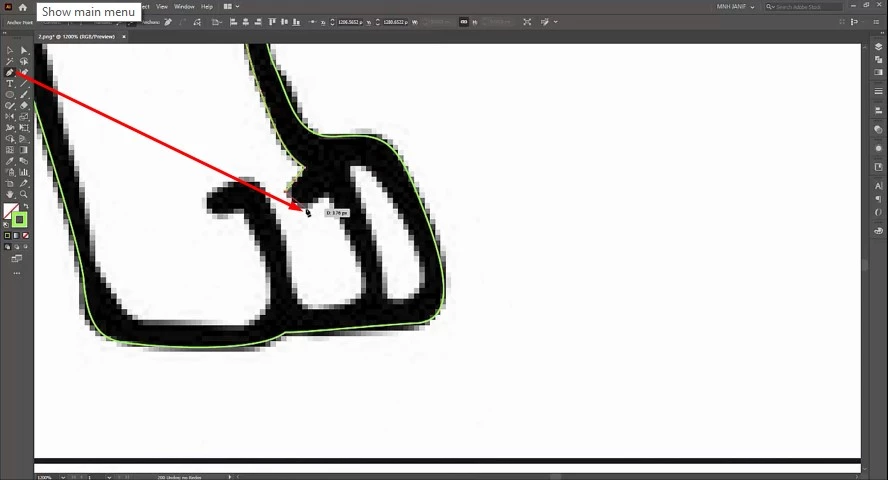
Now, it’s time to start the path drawing. We use the Pen Tool here to do so. It can be selected manually or by pressing ‘P’. It may take several minutes to complete the path drawing. So, don’t hurry. Keep patience all the time and try to ensure perfection.
Step 4: Expand the drawing path

After completing the full drawing, the next job is to expand the path.
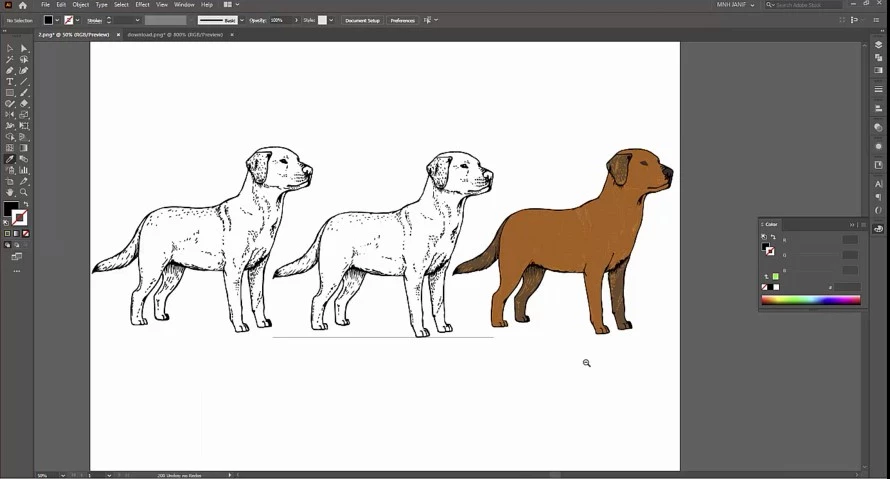
Step 5: Group and Separate

Now, make the Group of all the elements of the path and separate the vectorized dog from the raster image.
Step 6: Colorize with Eye Dropper
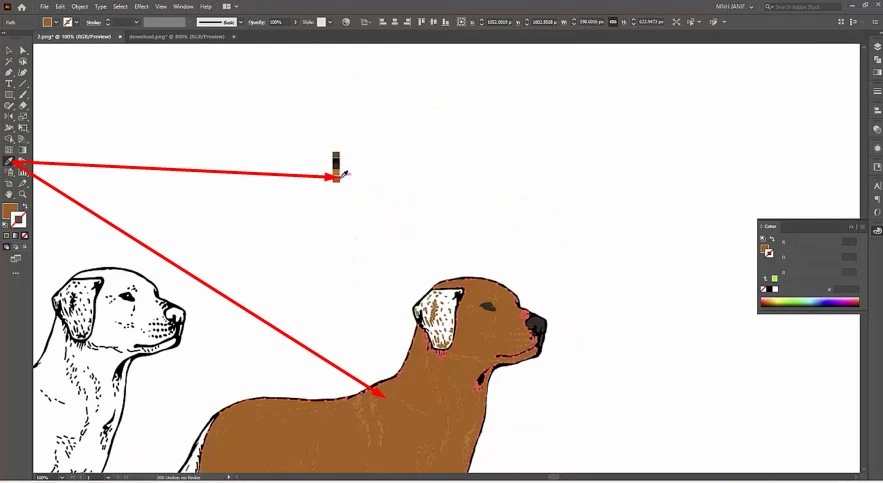
Eye Dropper is a big solution to colorize the path. Choose your color as you favor most.
Step 7: The end
Finally, we reached the end part of vectorize an image. Save the project and export the file as needed.
Now, you can take a step to vectorize a dog or you can reveal your tension to us. We are the most prominent vector design company. We are ready to vectorize your dog or pet line drawing.
You can also watch the video tutorial – How to Vectorize A Dog
More Resources:
How To Draw a Rose Line Art from Sketch (Rose Vector Drawing)
Cat Line Drawing for Funny Cats Design Compilation


