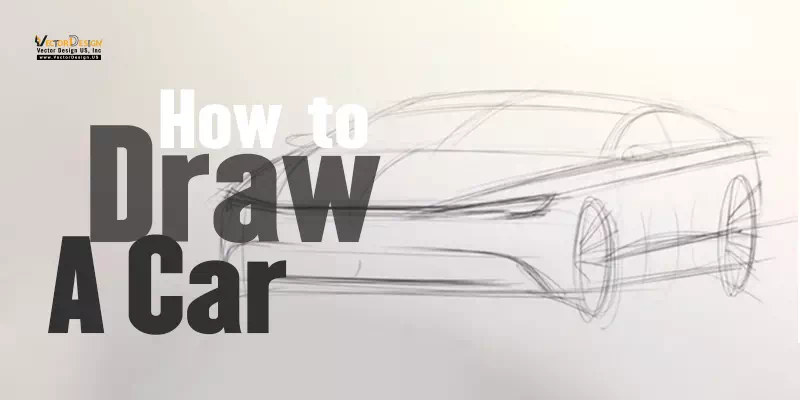
Drawing a car is a creative process that allows artists to explore the fusion of art and machinery. It’s not just about capturing the sleek lines and details of a car, but also a journey into the world of proportions, perspective and shading. Learning to draw a car serves as a foundational exercise for artists.
Before diving into the specifics of car sketching, it’s essential to emphasize the significance of mastering basic vector drawing skills. These fundamental skills, such as understanding shapes, proportions and shading, provide a strong artistic foundation applicable to various subjects.
They are the building blocks upon which more complex and detailed drawings, including cars, can be constructed. Therefore, the journey of drawing a car begins with honing these core skills, making it an excellent starting point for drawing artists at any level.
How to Draw a Car – Step by Step Guide
Whether you’re an enthusiast or looking to enhance your drawing skills, unlock the secrets to crafting captivating car illustrations. These drawing tips will demystify the art of car drawing.
Step 1: Gather Your Materials
Collect the necessary drawing materials, including paper, pencils, an eraser and a ruler.
Step 2: Start with Basic Shapes
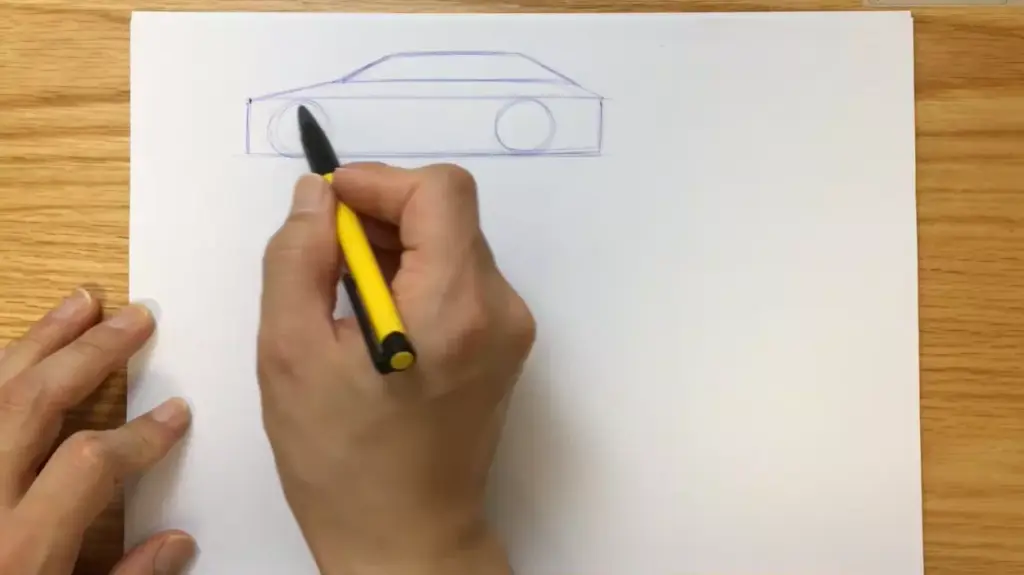
Begin by sketching the car’s basic shapes. Use rectangles and ellipses to represent the car’s body and wheels.
Step 3: Define the Car’s Proportions
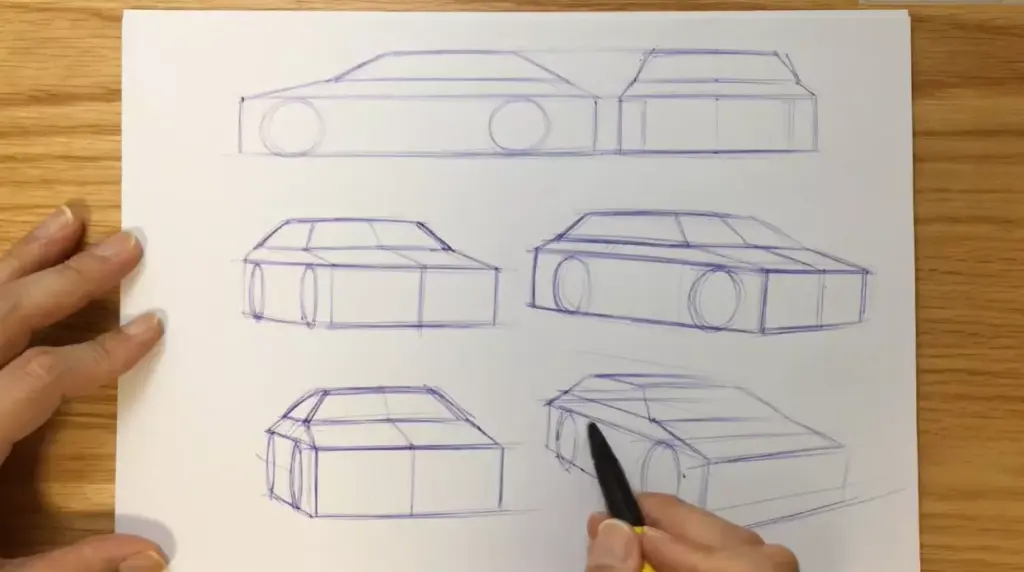
Establish the car’s proportions by comparing the size of its various components (the distance between the wheels and the car’s height).
Step 4: Add Wheels and Tires
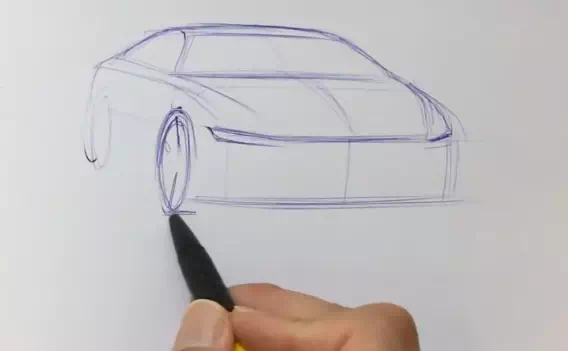
Draw the wheels within the ellipses you created earlier. Add details like rims and tire treads.
Step 5: Outline the Car’s Body
Start outlining the car’s body, using the basic shapes as a guide. Pay attention to the curves and angles.
Step 6: Sketch the Windows and Doors
Draw the car’s windows, including the windshield, side windows and rear window. Add doors and any other defining features.
Step 7: Add Headlights and Taillights
Draw the headlights at the front and the taillights at the rear. Include details like reflections and bulbs.
Step 8: Define the Grille and Bumpers
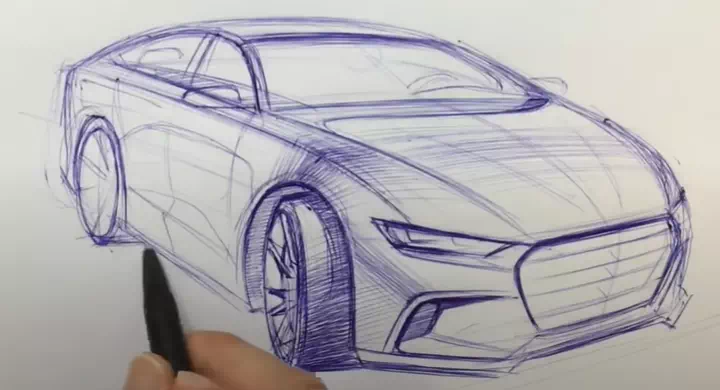
Sketch the grille at the front of the car and the bumpers at the front and rear. These elements give character to the car.
Step 9: Add Details and Accessories
Include other details like side mirrors, handles and any accessories or distinctive features unique to the car model you’re drawing.
Step 10: Shade and Texture
Begin shading the car to add depth and realism. Start with light shading and gradually build up darker areas to create a three-dimensional effect.
Step 11: Highlights and Reflections
Add highlights and reflections to the car’s body, windows and shiny surfaces. This enhances the realism of your drawing.
Step 12: Final Touches
Go over your drawing, refining lines, adding more details and erasing any unnecessary guidelines.
Step 13: Background (Optional)
If desired, create a background for your car drawing, such as a road, cityscape or natural setting.
Step 14: Review and Adjust
Take a step back and review your drawing. Make any necessary adjustments to improve accuracy and realism.
Step 15: Sign Your Work
Sign your drawing to claim it as your own.
Troubleshooting Common Mistakes
Troubleshooting common mistakes in drawing is an essential part of improving your skills. Here are some common errors artists may encounter while drawing a car and tips on how to address them:
1. Proportion Problems
Mistake: The car’s proportions are off, making it look unrealistic.
Solution: Pay close attention to your reference image’s proportions. Use guidelines and measurements to ensure accuracy.
2. Uneven Shading
Mistake: Shading is inconsistent, leading to a lack of depth and realism.
Solution: Practice smooth, controlled shading. Use a blending tool to create smoother transitions between light and dark areas.
3. Overworking the Drawing
Mistake: Overly detailed or cluttered drawings can lose their focus and impact.
Solution: Know when to stop adding details. Simplify complex areas, and ensure the car’s main features remain the focal point.
4. Incorrect Perspective
Mistake: The car looks distorted or flat due to incorrect perspective.
Solution: Study perspective principles. Use vanishing points and horizon lines to create accurate depth and dimension.
5. Lack of Contrast
Mistake: Insufficient contrast can make the drawing appear dull and less lifelike.
Solution: Emphasize highlights and shadows to create contrast. Darken areas that should be in shadow and add highlights to reflective surfaces.
6. Inaccurate Symmetry
Mistake: The car’s sides or components are asymmetrical.
Solution: Use a ruler or guidelines to ensure symmetry. Continually check for balance and alignment as you draw.
7. Smudging and Messiness
Mistake: Accidental smudging or stray marks can mar your drawing.
Solution: Protect your work with a clean sheet of paper under your hand. Use a smudge guard glove if needed.
8. Harsh Outlines
Mistake: Heavy, harsh outlines can make the drawing look cartoonish.
Solution: Use lighter lines for outlines and emphasize edges through shading and careful detailing.
9. Lack of Patience
Mistake: Rushing through the drawing process can lead to inaccuracies and missed details.
Solution: Take your time, especially in areas that require precision. Patience and careful observation are key.
10. Ignoring Background and Context
Mistake: Neglecting the background or context can make the car appear disconnected.
Solution: Consider the car’s environment and incorporate a background that complements the subject.
To Conclude
Art is a journey of continuous growth and self-expression. Drawing techniques of a car involves some fundamental steps. These steps are not only vital for crafting a car drawing but also serve as building blocks for enhancing your overall drawing proficiency.
Don’t be discouraged by early challenges; they’re part of the learning process. Embrace them, seek inspiration and let your creativity drive you to new artistic horizons. Your dedication will undoubtedly lead to remarkable improvements in your artistry.
FAQs
1. What are the essential tools for drawing a car?
To draw a car, you’ll need paper, pencils (varying in hardness), erasers, a ruler, and reference materials such as car images or model cars.
2. I’m a beginner. Where should I start when drawing a car?
Begin by practicing basic shapes and lines to understand proportions. Gradually progress to more complex details as you gain confidence.
3. How can I improve my shading skills for realistic car drawings?
Start with simple shading techniques like hatching and cross-hatching. Experiment with different pencils to achieve varying tones and textures.
4. Are there any online tutorials or courses for car drawing?
Yes, many online resources offer tutorials and courses to help you improve your car drawing skills. Websites, video platforms, and art communities are great places to start.
5. What’s the importance of perspective in car drawing?
Understanding vanishing points and horizon lines helps you position the car correctly in your composition.
6. How can I add intricate details to my car drawings?
Start with the basic structure and gradually add details like headlights, windows, and wheels. Reference images can be immensely helpful.
7. Can I draw cars from imagination, or do I always need a reference?
While reference materials are valuable, developing the ability to draw cars from imagination comes with practice. References help with accuracy, but as you gain experience, you can create original designs too
Related Articles


