Photoshop liquify filter can be a useful tool for offering Photo Editing Services. If you know how to use liquify tool in Photoshop appropriately, you can create stunning model images, product photos, and edit packaging. Liquify tool will enable you to create a melting effect. You can push, pull, rotate, reflect, pucker, and bloat any area to edit an image. Liquify tool can be an automatic choice to distort an image, shrink a picture, and create artistic effects. This powerful Photoshop tool is highly recommended for Photo Retouching.
To give you a liquify filter overview, we are creating here a presentation on various options of the photoshop liquify tool so that you can leverage it for making fat model photo slim, product photo straightening, joining neck part during Ghost Mannequin, human body reshaping, reducing body flesh, etc.
So, let’s get started.
Liquify tool photoshop works like a Photoshop plug-in. When you will open it from the Filter option, you will get a different dialog box with many options available.
To get a practical idea about how to liquify works, we are presenting a step-by-step tutorial of liquify. Follow it.
Firstly, Open an Image in Photoshop
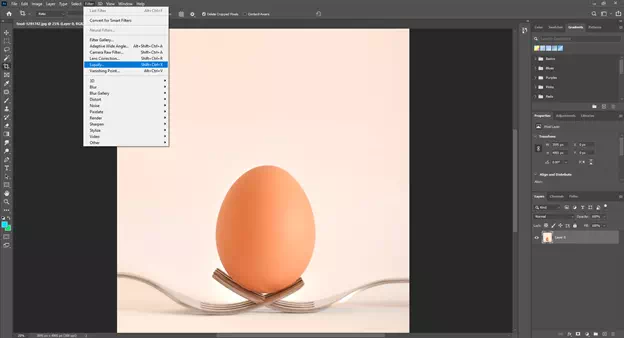
Go to the Filter option and get the Liquify tool. Click on it and get a new window to use the liquify tool.
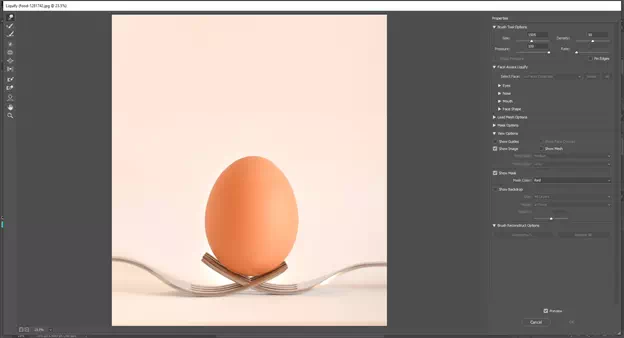
Get the Liquify Dialog Box with The Option on The Left Side
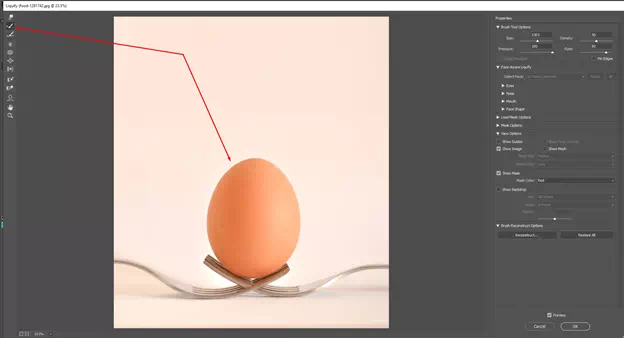
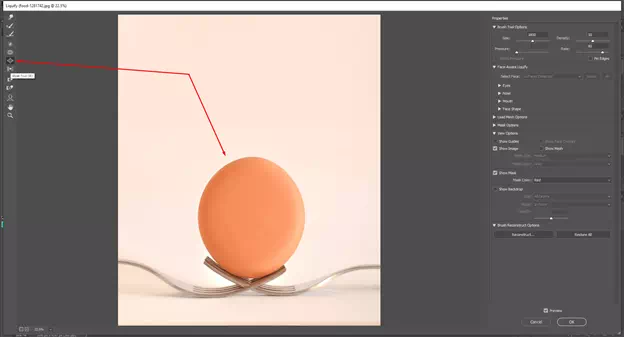
Use the Forward Wrap Tool
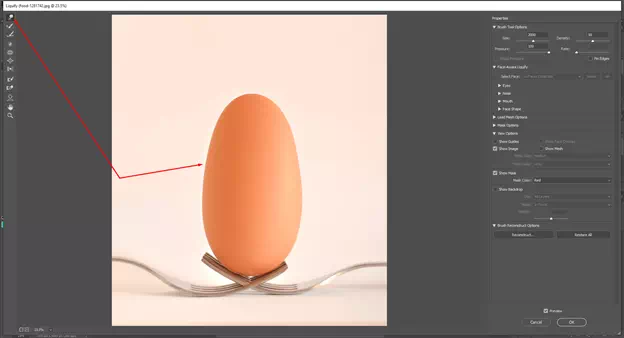
See we have applied the Forward Wrap tool on the egg image and got some changes. Here the egg is bigger than the original one.
Use the Reconstruct Tool
Utilizing the reconstruct tool, you can fix the issues or changes that you have done by the Forward Wrap tool. If your images get the changes that you do not desire, fit those using this tool.
Use Smooth Tool
When you will use other tools of liquify filter, you might get distortion in your image, especially when you will stretch your image. That distortion can be smoothened by the Smooth tool. You can add a soft surface inside your image.
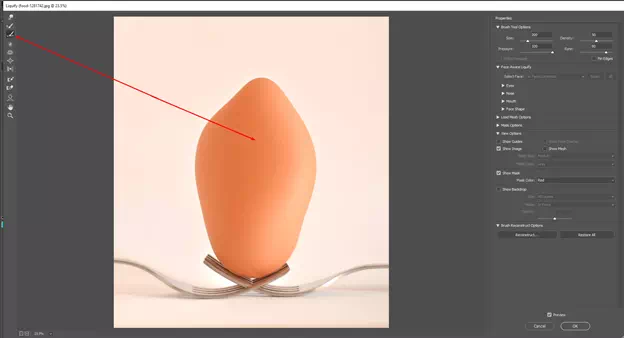
Use Twirl Clockwise Tool
Look at the image and consider what changes we have made. Though the result is distortion, still, this tool is very useful. You can understand what is liquify in photoshop when you will use it. You can realize the power of liquify tool.
Use Pucker Tool
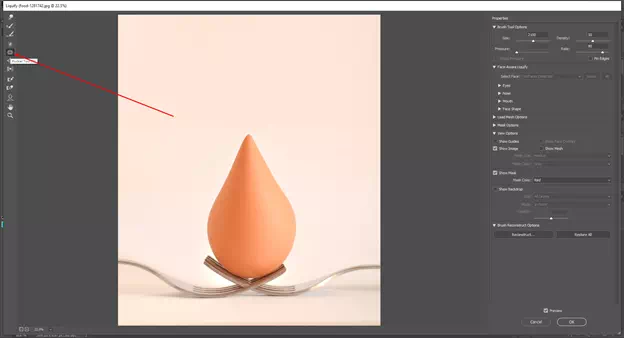
See we have used here the Pucker tool that extends the area of your image. It stretches the image and changes the shape. Look at the image, we have transformed the egg into a water drop, though it is not like water regarding color.
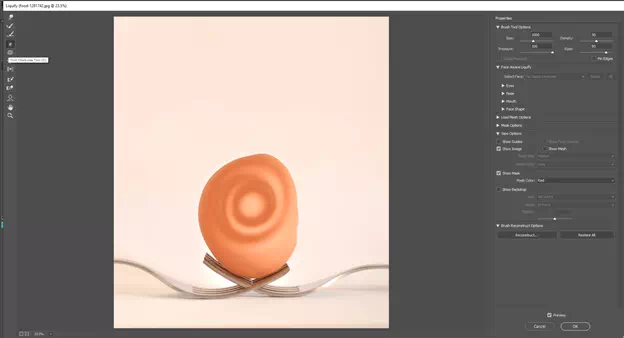
Bloat Tool
The Bloat tool works best to bring forward the inward pixels. For professional work, it works to fix the tapped area. For example: if a car image gets tapped due to hitting another car, tree, or building, you can bring back the shape into its original look.
Use Push Left Tool
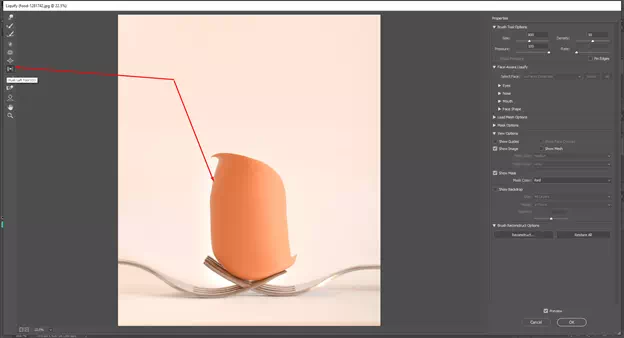
See the result of the Push Left tool. For image editing purposes, this tool can be very useful.
Liquify Properties
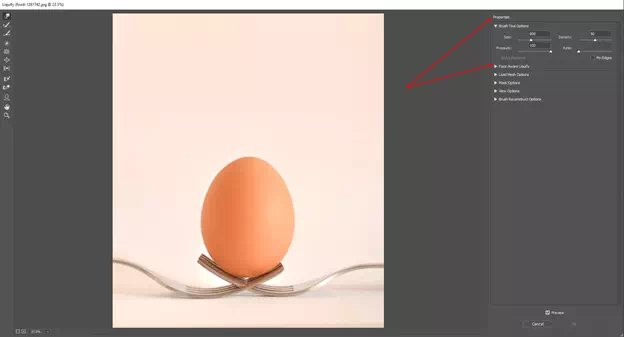
The liquify property bar will give you the scope to maintain the brush size, density, etc. You can have the presets of liquify available here.
However, this is all about the usage of the Photoshop Liquify tool.
Is Photoshop Liquify Not Working?
Due to many reasons, your liquify tool may not work. Don’t worry, it will work.
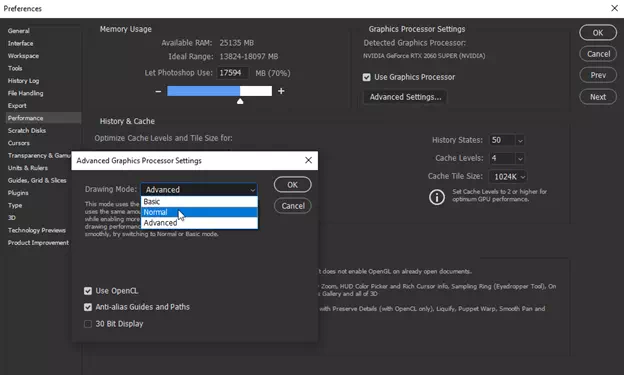
If you find any issues, you can turn off graphics acceleration. To do that-
- Go to Edit
- Click to Preference
- Hit on Performance
- Untick the “Use Graphics Processor”
Now your Liquify should work. If you still face the problem, follow the steps shown in the image.