Optimizing embroidery designs is a big deal. When you want to put a design on your clothes using threads, you have to make sure the design fits really well with the threads. If you don’t do this, the design might not look as good when it’s stitched. So, optimizing designs means changing them a little bit to make them work perfectly with the threads. This way, when the sewing is done, your design will look amazing on your clothes.
At the heart of making embroidery work well is something called effective digitizing. It’s like magic that turns a flat digital picture into real stitches on clothes. This magic happens by making smart choices about how the stitches look – like their type, how close they are, and which way they go.
All these choices make sure the final embroidery looks just like the original picture. Effective digitizing needs an understanding of how to make things look great and also how sewing works. It’s like the special bridge that turns an idea into a cool embroidered design you can touch and wear.
Understanding Embroidery Digitizing
Understanding embroidery digitizing is like learning the magic behind turning pictures into stitched art. It’s the key to transforming designs into instructions for sewing machines, making threads come alive in beautiful patterns.
- Definition and Role of Embroidery Digitizing: This means turning a picture into instructions for the sewing machine. It’s like telling the machine where to put each thread to create the design.
- Significance of Design Optimization: Making a design fit well with threads is super important. If you don’t do this, the design might not look good when stitched. So, you need to change the design a bit to make it perfect for sewing. This is what we call design optimization.
What is Optimizing of Embroidery Designs?
Optimizing embroidery designs means making sure they’re just right for stitching. It’s like getting a puzzle to fit perfectly, you change designs a bit so they look amazing when sewn with threads.
Tips for Optimizing Designs
Discovering tips for optimizing designs is like uncovering secrets to make your embroidery shine. These tricks help you create perfect designs that turn into stunning stitched art.
Choose Suitable Design Elements
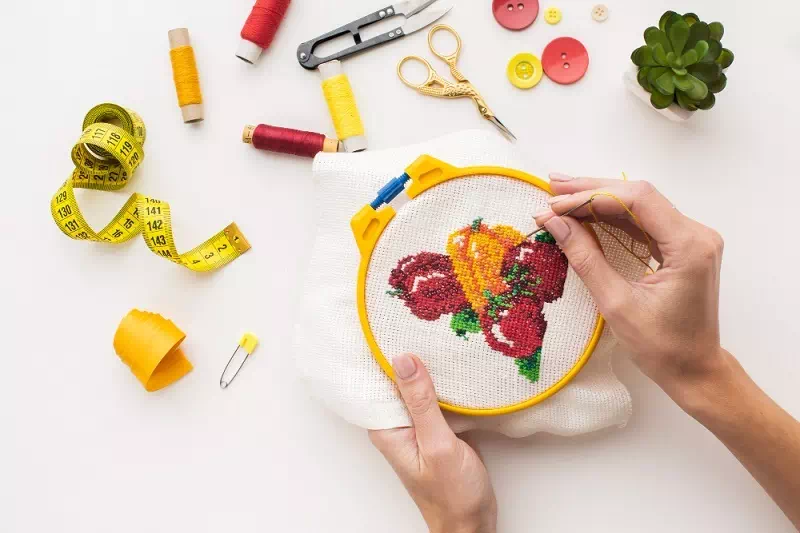
Picking the right design parts is like finding the best puzzle pieces. Choose clear and simple designs that work well with threads. Also, think about how tricky the stitching might be.
- Selecting Clear and Simple Designs: It’s like picking puzzle pieces that fit well. Choose designs that are easy to understand and look good with threads.
- Considering Stitching Complexity: Think about how hard it might be to sew the design. Some designs need more work, so choose wisely.
Adjusting Design Size and Complexity
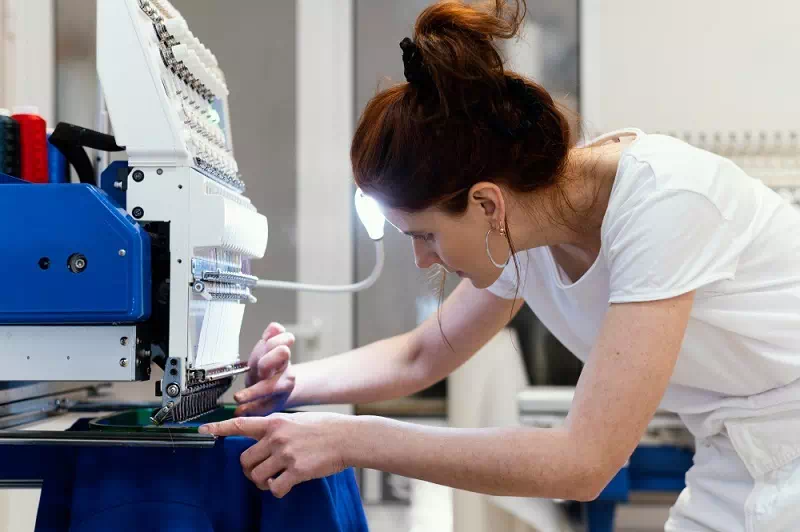
Changing how big or complex your design is can make a big difference. Try making intricate designs smaller and simplifying complex ones for better results.
- Scaling Down Intricate Designs: Imagine making a big picture smaller, like a zoomed-out puzzle. Small intricate designs work better, so they look awesome when stitched.
- Simplifying Complex Designs for Better Results: Sometimes, it’s like turning a hard puzzle into an easier one. Simplify complex designs to make sure they look great when embroidered.
Proper Color Selection
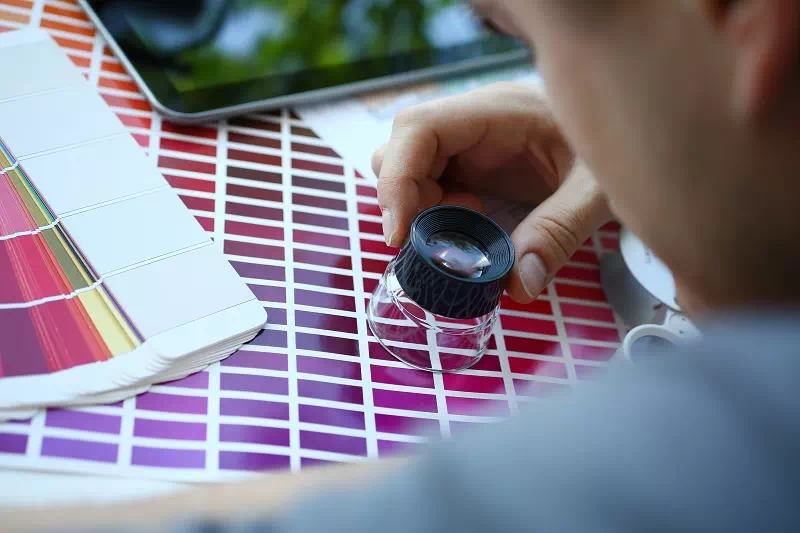
Choosing the right colors is like picking the perfect paint for a masterpiece. Think about color differences and use fewer color changes for better results.
- Importance of Color Contrast: Colors need to stand out, like using light and dark shades. This makes the design clear and attractive when stitched.
- Limiting Color Changes: Imagine using fewer paint colors for beautiful paintings. Using fewer thread colors makes the embroidery process smoother and the design more appealing.
You may also read– Color Theory.
Stitch Type and Direction
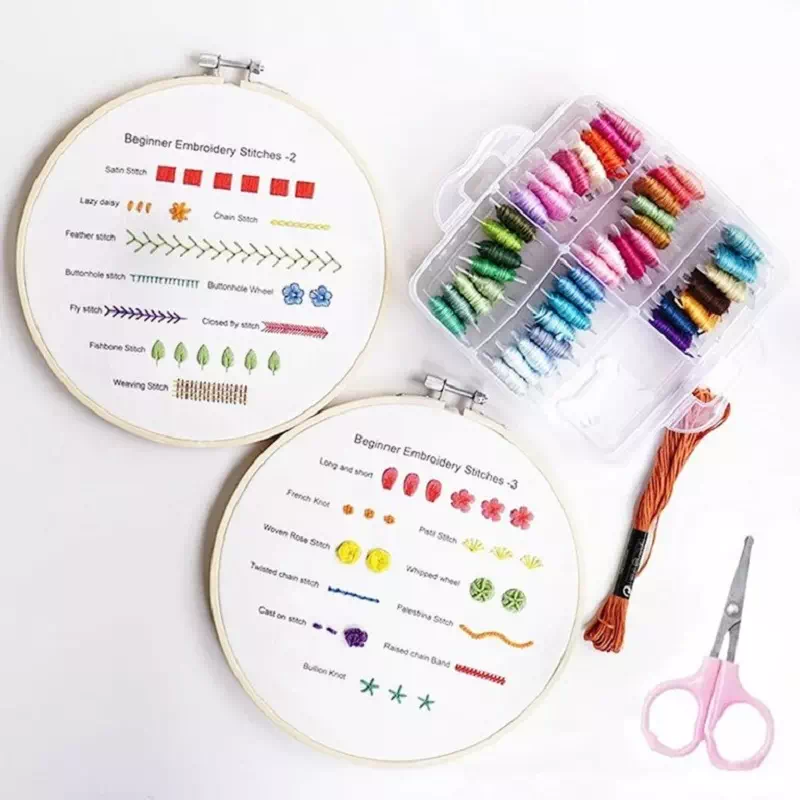
Deciding how stitches look is like choosing the right brush strokes for a painting. Match stitch types to design parts and make sure they flow smoothly.
- Matching Stitch Type to Design Elements: Think of stitches as different brush strokes. Use the right ones for each p artistry the design, so it looks just right when embroidered.
- Ensuring Smooth Stitch Flow: Stitches should flow like graceful lines in a painting. Make sure they go smoothly in the right direction for a beautiful final result.
Stitch Density and Length

Deciding how close the stitches are is like adjusting pencil lines in a drawing. Balance stitch density for texture and change stitch length for better details.
- Balancing Stitch Density for Texture: Imagine using pencils close together to create shading. Adjust stitch density to make the design look textured and interesting.
- Adapting Stitch Length for Detail: Changing pencil strokes for fine lines is like adjusting stitch length. Shorter stitches help show small details clearly in the embroidered design.
Considering Fabric and Hoop
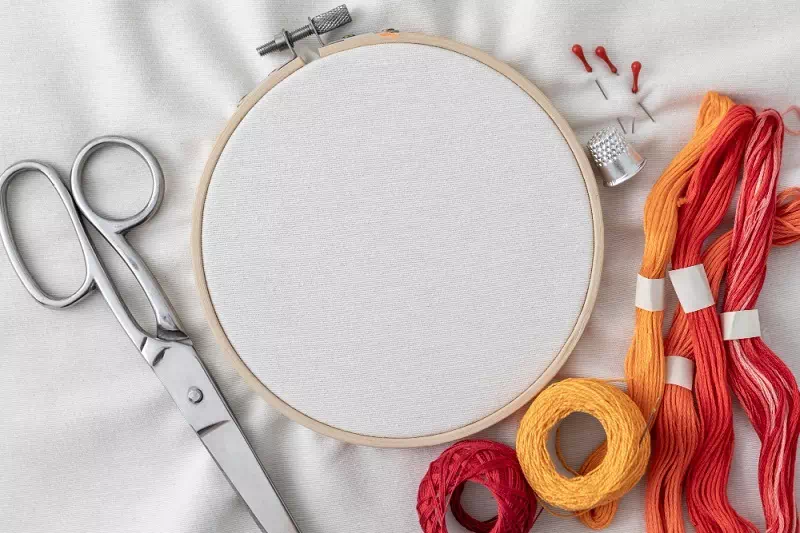
Thinking about the fabric and hoop is like choosing the right canvas for painting. Understand different fabrics and adjust stitching for the best results. Also, pick the right hoop size and place the design carefully.
- Understanding Fabric Types: Fabrics are like different canvases for embroidery. They affect how the design looks when stitched. Adjust stitching based on fabric type for the best outcome.
- Impact of Fabric on Embroidery: Different fabrics behave differently when embroidered. Some need more delicate stitches, while others can handle denser ones. Choose the right stitches for each fabric.
- Adjusting Stitching for Different Fabrics: Imagine using different brushes for different paints. Similarly, use different stitches for different fabrics. This ensures your design looks great no matter the fabric.
- Hoop Size and Design Placement: Think of the hoop as the frame for your artwork. Choose the right size so your design fits perfectly. Also, place the design carefully to avoid any distortion.
- Matching Hoop Size to Design: Just like a frame should fit the painting, the hoop should fit the design. Use the right hoop size to keep the design clear and well-proportioned.
- Avoiding Design Distortion: Distortion is like a stretched-out painting. Be careful when placing the design in the hoop to avoid any stretching or warping. This way, your design will look how you want it to.
Utilizing Digitizing Software Tools
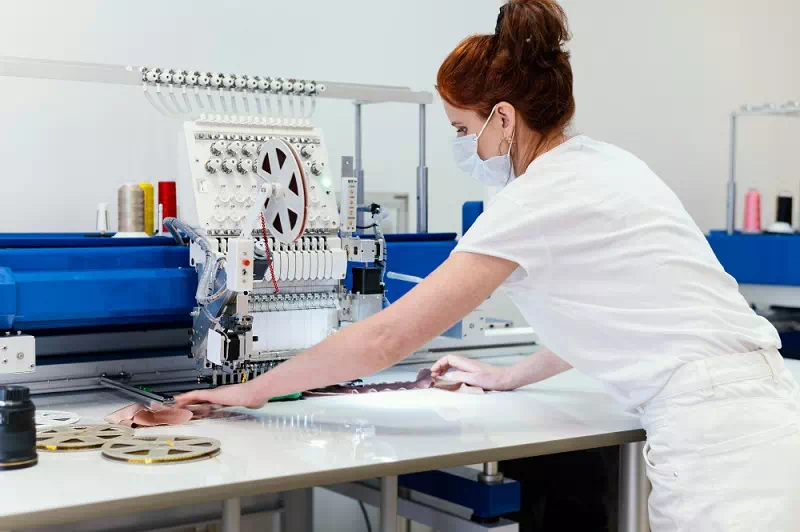
Using software tools is like having a magic kit for embroidery. Make the most of editing tools and underlay stitches to create awesome designs.
- Taking Advantage of Editing Tools: Editing tools are like magic wands. You can reshape design parts and make them just right. Adjust stitch points for super precision in your embroidery.
- Reshaping Design Elements: It’s like molding clay into the perfect shape. With editing tools, you can adjust your design so it looks just the way you want when stitched.
- Editing Stitch Points for Precision: Stitch points are like guideposts for sewing. By tweaking them with editing tools, you make sure your design comes out super neat and detailed.
- Using Underlay Stitches: Think of underlay stitches as a strong foundation for your artwork. They make sure your design stays stable and the fabric doesn’t move around.
- Enhancing Design Stability: Just like a sturdy base for a building, underlay stitches keep your design steady. This way, it won’t wrinkle or look messy when stitched.
- Preventing Fabric Shifting: Imagine keeping paper in place while drawing. Underlay stitches prevent the fabric from moving, so your design stays right where it should be.
Test Runs and Iterative Adjustments
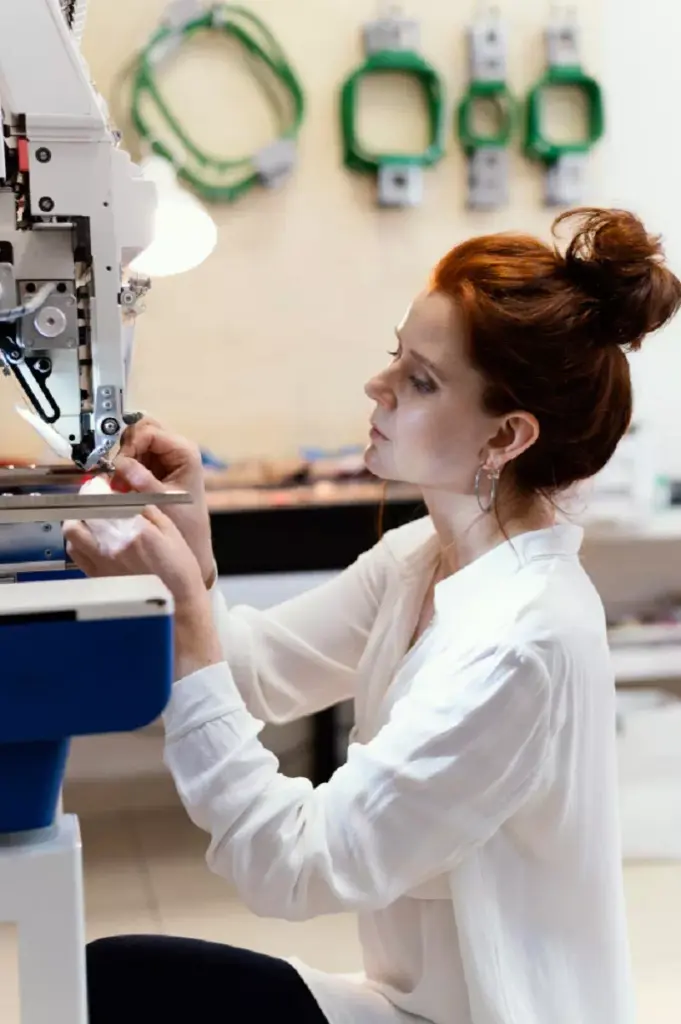
Trying things out and making changes is like polishing your artwork until it sparkles. Test runs and adjustments help make sure your embroidery looks just right.
- Importance of Test Runs: Test runs are like practice rounds before a big game. They help check the quality, accuracy, thread, and fabric match, and colors to make sure everything is perfect.
- Quality Assurance: Think of test runs as quality checks. You want to be sure your embroidery turns out great, so testing helps catch any issues before the final stitching.
- Accuracy: Test runs are like checking the lines in a drawing. They make sure the stitches are in the right places and the design looks how you want it to.
- Thread and Fabric Compatibility: Different threads and fabrics work together differently. Test runs help make sure they get along and create a beautiful design.
- Color Matching: Colors should be just right, like picking the right shades for painting. Test runs ensure that the thread colors match the design perfectly.
- Making Iterative Adjustments for Perfection: Making iterative adjustments for perfection is like polishing a gem until it sparkles brightly. After each test run, you refine the design little by little, aiming for absolute excellence.
Time, Patience, and Expert Input
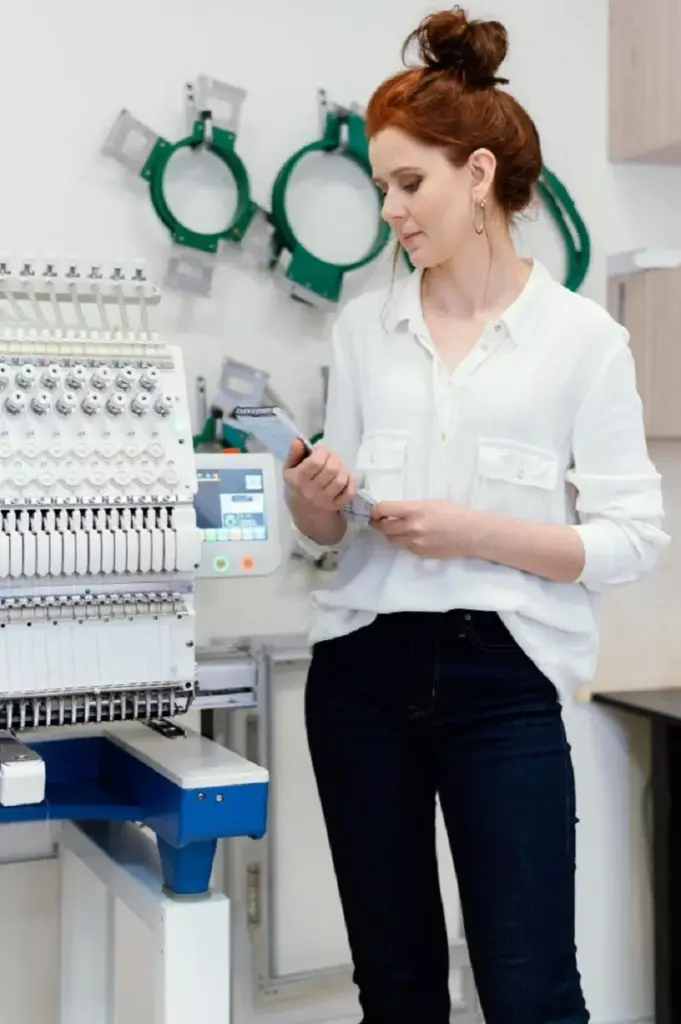
Mastering embroidery is a bit like growing a garden. You need time to let things develop, patience to see them bloom, and guidance from experts to help them flourish.
Time Allocation: Giving enough time is like letting a cake bake fully for the best taste. Rushed digitizing doesn’t work well. Taking your time leads to better results. Allow time for adjustments and improvements, just like giving a painting the finishing touches.
Like adding extra ingredients to make a dish perfect, allowing time for changes and fixes makes sure your design turns out just right.
Embracing Patience: Being patient is like waiting for a plant to grow into a beautiful flower. Good things take time. Understand that for your embroidery to be perfect, you need to be patient. The process is like a puzzle you solve step by step until it’s complete.
Like watching a flower bloom, perfect embroidery needs time to shine. Patience helps you make sure every detail is just how you want it. Imagine building something amazing, piece by piece. Patience lets you work through the steps, making changes until you reach the perfect outcome.
Seeking Expert Advice: Getting advice from experts is like asking a coach for game tips. Consulting experienced digitizers or professionals can give you really useful advice. It’s like having a map to guide you on your embroidery journey.
Imagine having a guide who knows the path well. Experts can show you the way and help you avoid mistakes.
Conclusion
In the colorful world of embroidery, optimizing designs is the magic that turns imagination into reality. By carefully choosing design elements, adjusting size and complexity, and considering colors, stitch types, and fabric, you lay the foundation for a stunning embroidery masterpiece. Test runs and iterative adjustments ensure perfection, and utilizing digitizing software tools adds finesse to your art. Lastly, remember that time, patience, and seeking expert input are your companions on this creative journey.
So, don’t hesitate to apply the insights shared here. As you thread your way through each tip, you’re shaping high-quality embroidered designs that tell stories and leave a mark. With each stitch, you’re creating art that’s not just seen but felt. Embrace the joy of transforming threads into tales, and watch as your designs light up the world with every stitch.
Related


