You can do a lot of work using blending modes in Photoshop. Different types of blending options can be useful for image compositing. If you need to blend multiple photos create a new one, especially for creating a collage with wedding photographs, event photos, nature photos, etc. this step-by-step tutorial is for you. You can be able to know how to use blending modes professionally to create stunning images your clients must like. Our Wedding Photo Retouching Service is gaining more popularity which you may also be searching for.
So, learn all about blending modes and master to blend photos during compositing in Photoshop.
Open the Images that You Want to Composite in Photoshop

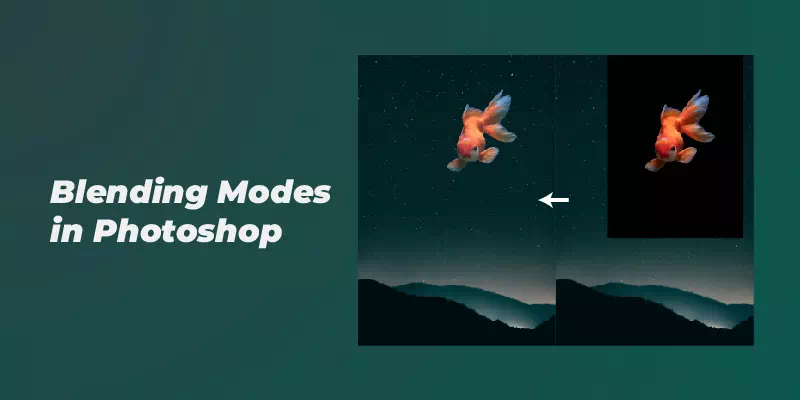
See, you want to blend the fish image on the starry background, right? In that case, you have to remove the black background from the top image. So, you need not use the pen tool and clipping path technique to isolate the fish image. You can just blend the black backdrop utilizing the Photoshop blending modes.
Go to The Down-Arrow Shown in The Image Below and Get All the Blending Options of Photoshop
You can test here all the blending options from Normal to Luminosity. Please, don’t try to memorize the effects of blending modes, rather concentrate on understanding how blending modes work.
Hover the Mouse on The Blending Tools and Get the Result
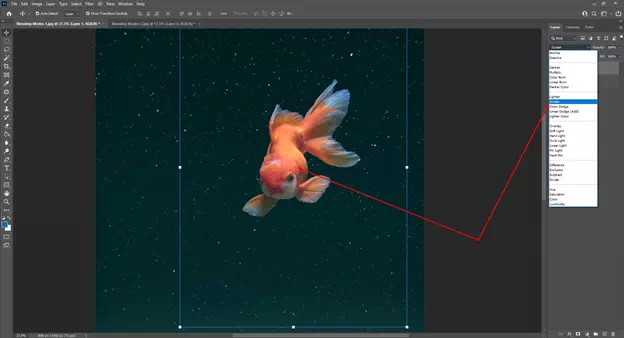
Look at our experiment. In this case, since our background is dark, if we use the Lighten or Screen blending modes, we are getting the desired result. Because all the light pixels in the fish image are shown and the dark pixels are got removed.
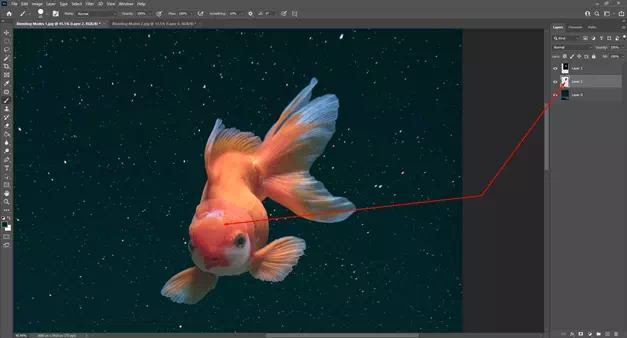
Take a New Layer Between the Two Layers and Remove the Lighter Stars
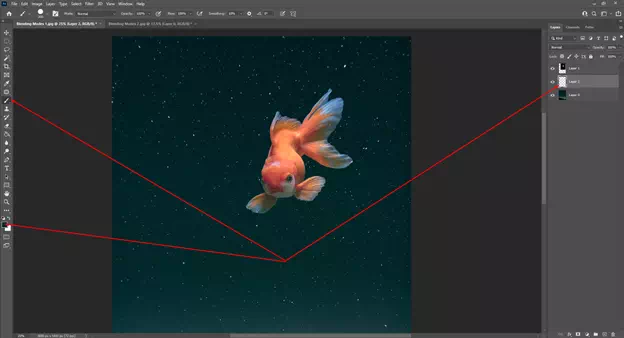
If you notice, you will get the lighter stars that the fish are seen through the fish image. We have to remove the stars to get a perfect image composite. So, we have taken a new layer in between the two layers, selected a deep or darker color, and taken the brush tool. Now, let’s drag the brush tool on the fish.
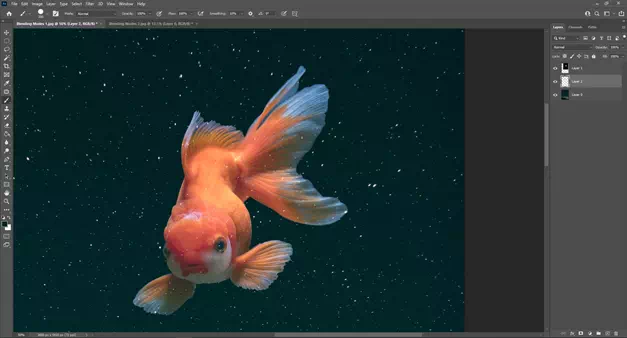
See the difference. Get the result of blending mode or image blending to composite in Photoshop.
Finally, Get the Output of Using Blending Modes

There are more options you can apply to this image, but to make this tutorial short, we have shown you the basic steps. The more time you will spend here, you will get more accurate the results and more options to apply to it.
However, this is the magic of blending mode. You can perform a lot of tasks using these blending modes in Photoshop. This is a sample task for your attention.
Credit: Aaron Nace
Youtube.com/watch?v=vFlrh8DBxW0


