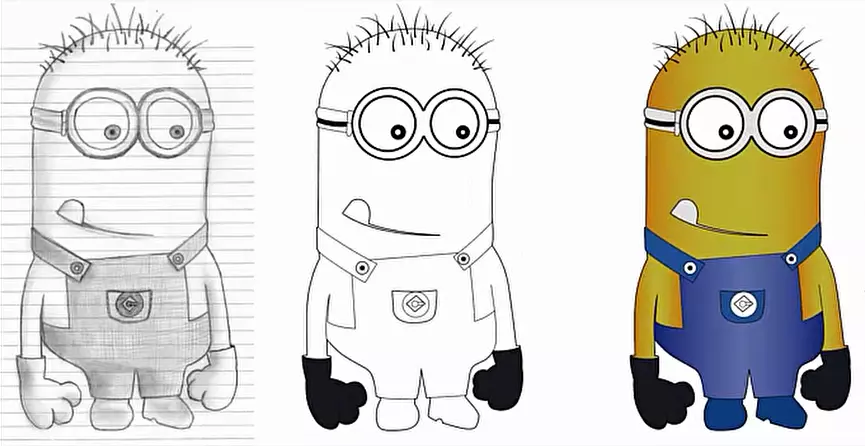
Drawing is a great way of art representation. An artist, either professional or hobbyist, wants to reserve his artwork for decades. But, bromide art paper isn’t a long-lasting material. Another important fact is digitizing the drawing. Taking a raster photo cannot be the best solution because it will get distorted during enlarging the photo. So, what can be the appropriate solution for converting hand drawing images to vector graphics?
If you learn from our tutorial, you can provide the solution DIY. Here we have presented an authentic solution of vectorizing drawing and sketching. Our expert vector artist has written the tutorial describing his best technique of drawing to vector conversion. We hope that you can use this method for your project or for the client’s project.
The best solution for digitizing is to vectorize the drawing. We brief a step-by-step process of drawing to vector. We use adobe illustrator cc here. Let’s explore the tutorial.
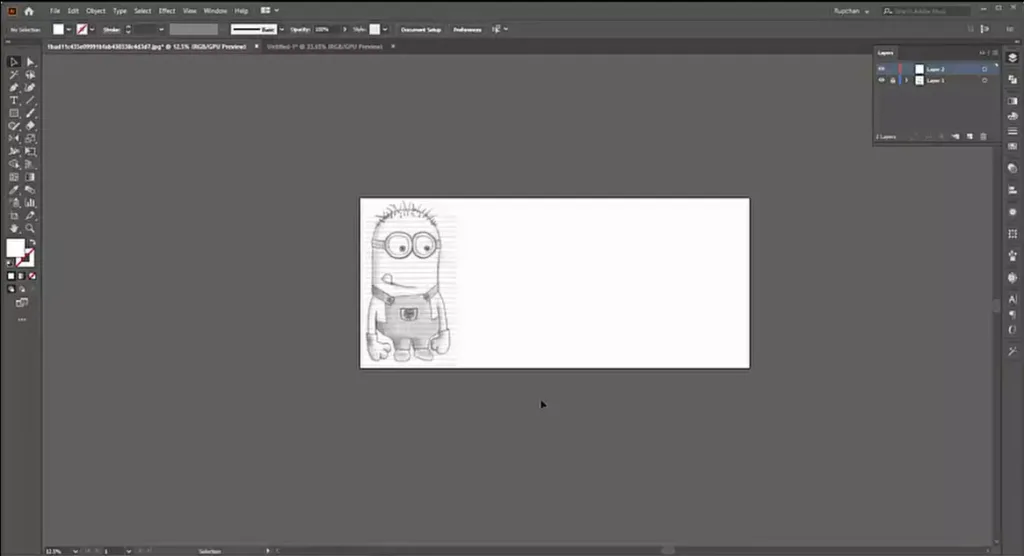
Step 1: Import A Drawing
Let’s select a drawing image and import the file in Adobe Illustrator CC. This is the very first step we know.
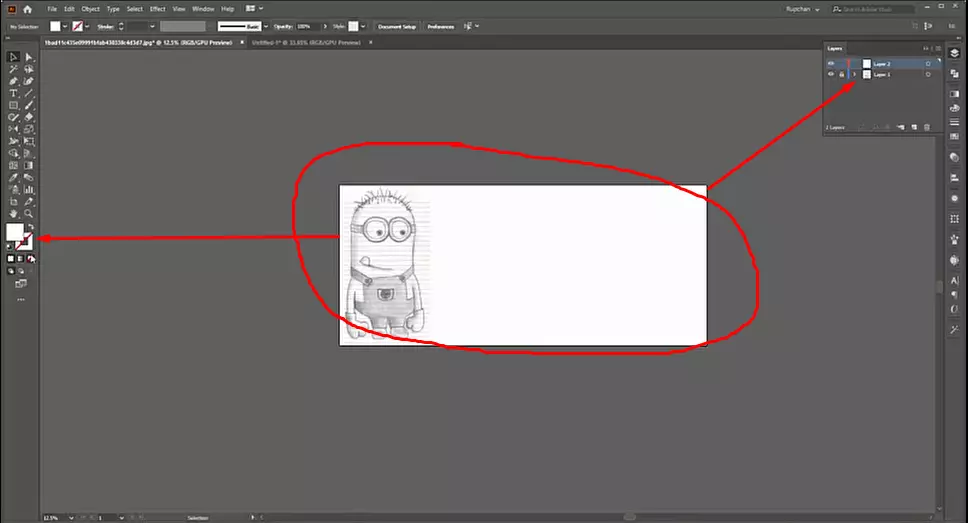
Step 2: Customize Pre Setup
Before diving into the main action, we need to customize the Artboard, Layer, and Stroke setup as a need.
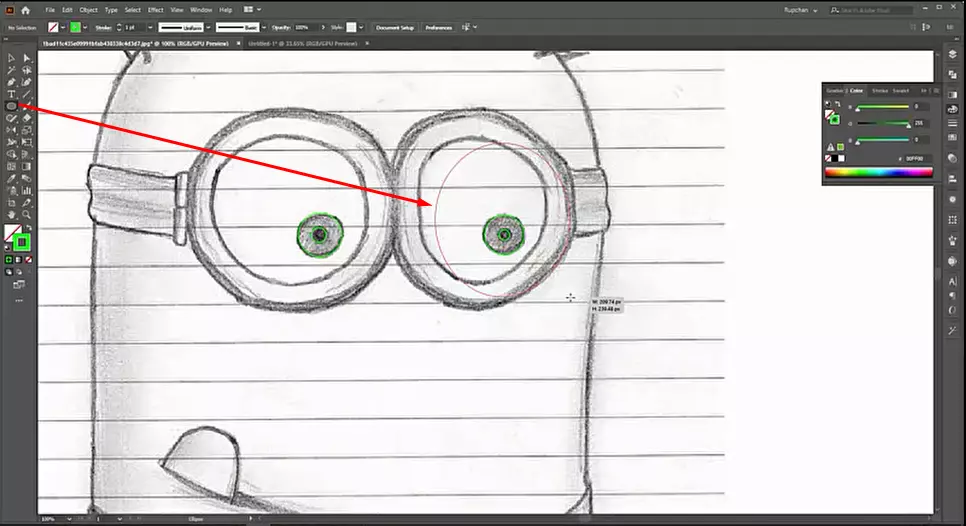
Step 3: Start with Ellipse Tool
Start vectorization by using the ‘Ellipse Tool’ for shape building. It can be selected manually or by pressing ‘L’.
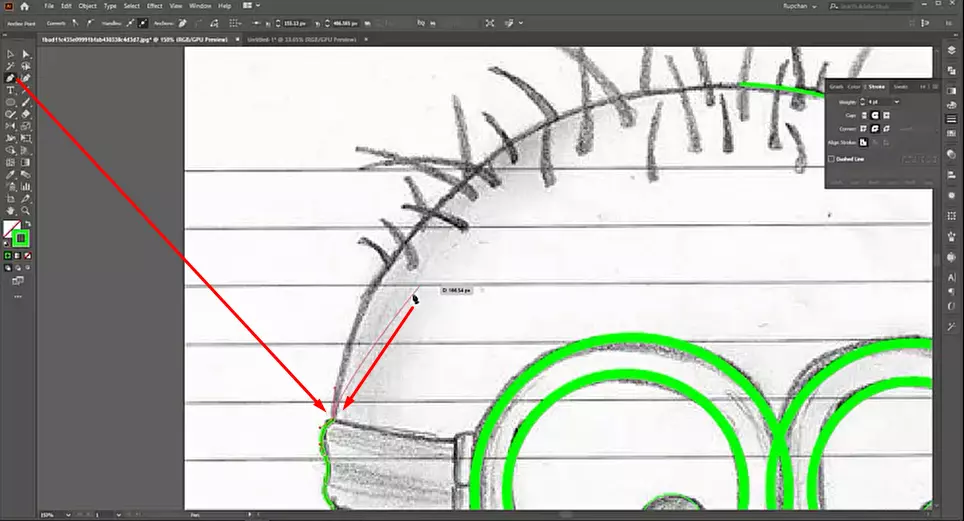
Step 4: Draw the Path
It’s time to draw the path by path. Use ‘Pen Tool’ to do so. The activity is most important part to vectorize a drawing.
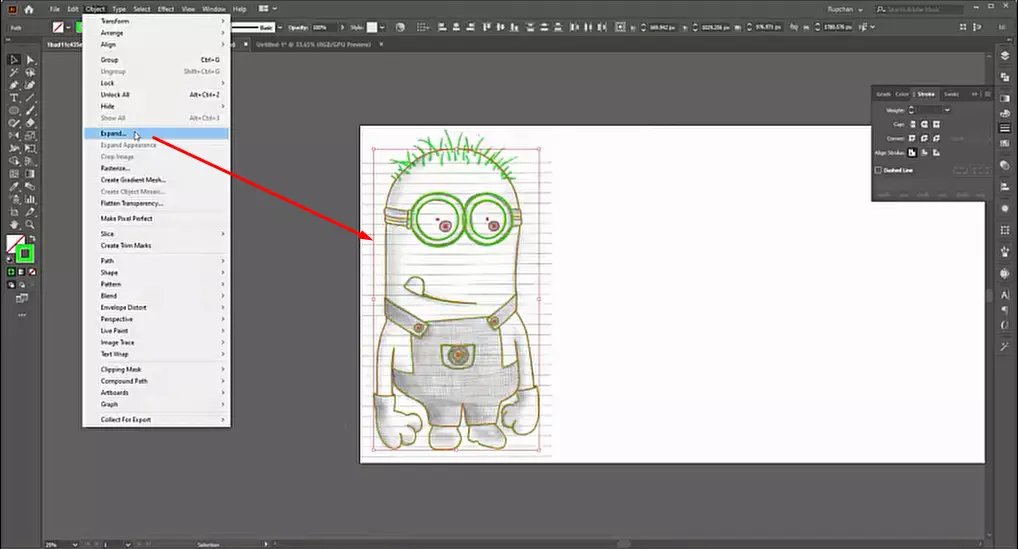
Step 5: Expand the Path
After drawing the path, we need to expand the path. Go to ‘Object’ and select ‘Expand’
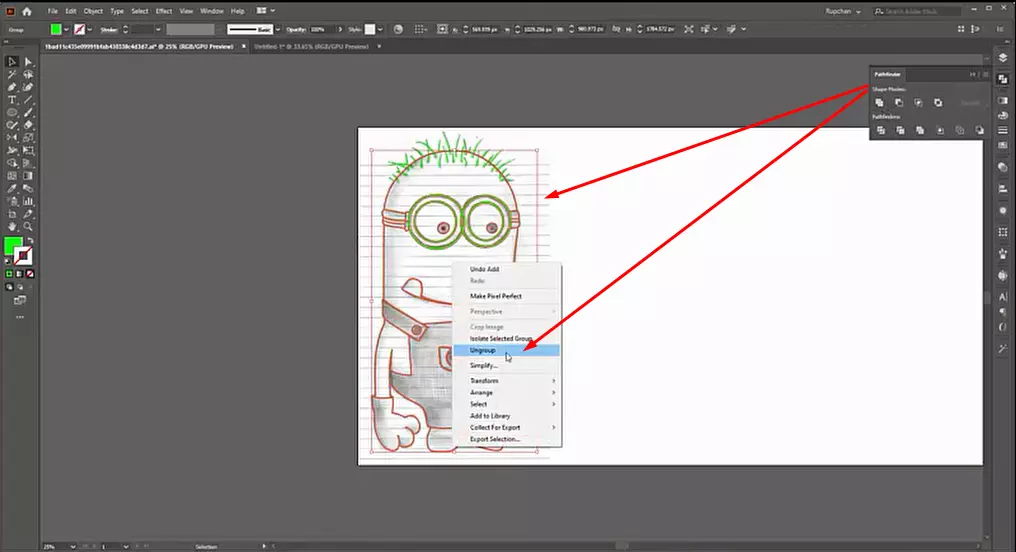
Step 6: Work with Pathfinder
Now we work with the pathfinder. Let’s ungroup the path first and customize them part by part.
Step 7: Separate the Vectorized Path
Let’s separate the vectorized path from the drawing. To do so, ensure the appropriate line drawing.
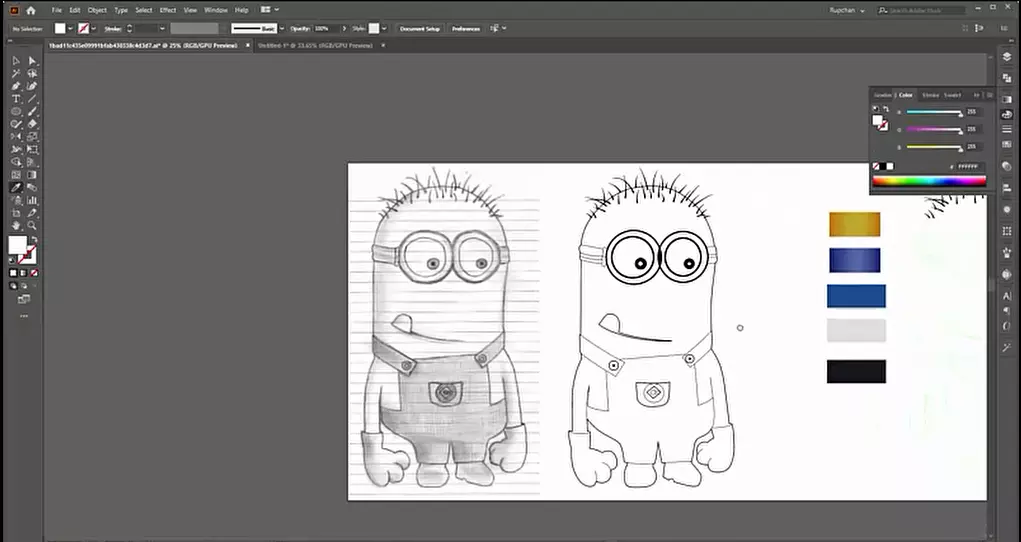
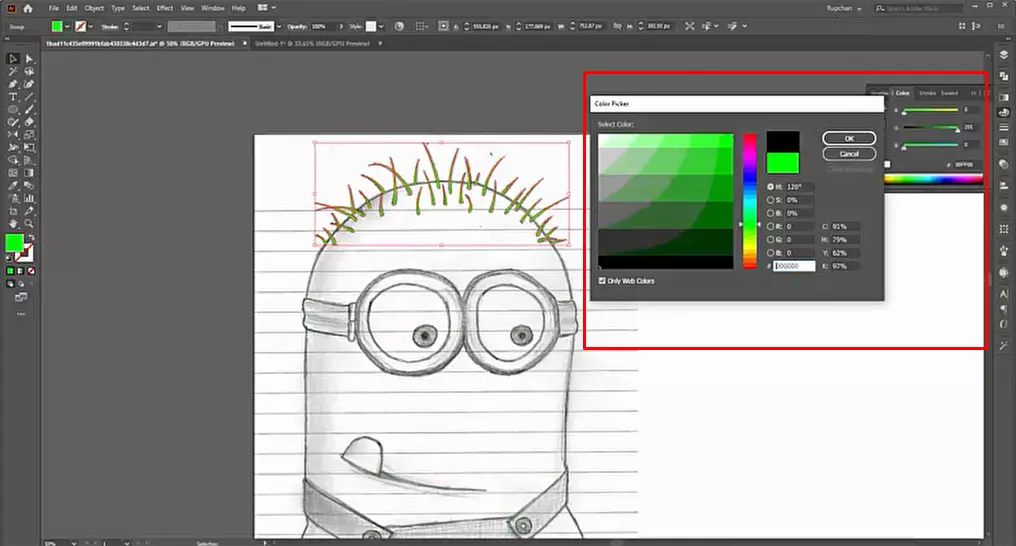
Step 8: Colorization
We use ‘Eyedropper Tool’ here. Perfect color choice is the main key to successful colorization. Chose a color according to the character. Use the color code to pick the exact color and be careful about the color combinations.
Step 9: The End
The process is reaching an end. Now save the work and export the file as needed.
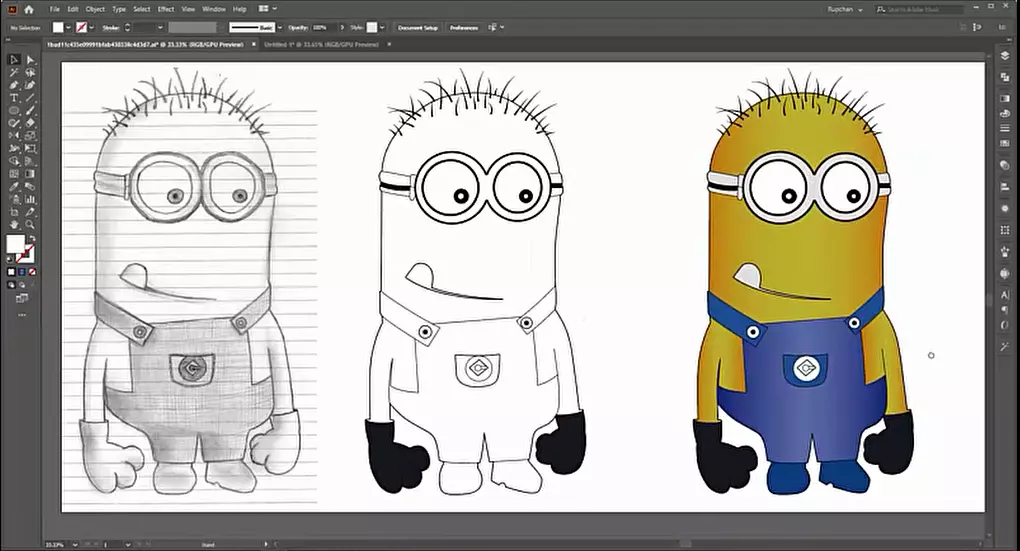
That is the end of this tutorial. Whatever you have learned so far is enough to create a line drawing from hand-drawn images to vectors. You can create any type of vector image by maintaining this vectorization method.
However, we are always inspired to create vector images DIY, but a short time of practice may fail to bring the required quality. If you can create the best vector images for your project, do it. Otherwise, you can take our assistance for having vector images
You can watch the video tutorial here.


