
Photo editing workflow is simply what you know as the post-processing steps that you follow after shooting the photos. Why is it necessary? That’s because it is not always possible to capture a flawless image and also because often you have to go through some editing to make it perfect and professional. Indeed, post-processing or editing is not simple rather it is time-consuming and requires much effort. Anyway, with your favorite photo editing software, you can follow a photo editing workflow that will help you get the job done more quickly and smoothly.
Please be noted that the photo editing workflow is not like some rules that you have to follow accordingly. It is more like developing your own sense of post-processing steps depending on your requirements and photo quality. You may not always need the same process. But having one will definitely help you be professional and deliver your photos to the clients within the deadline.
Here we are helping you develop your own post-processing steps or photo editing workflow so that you don’t end up losing your precious raw photos or time.
Capturing the image:

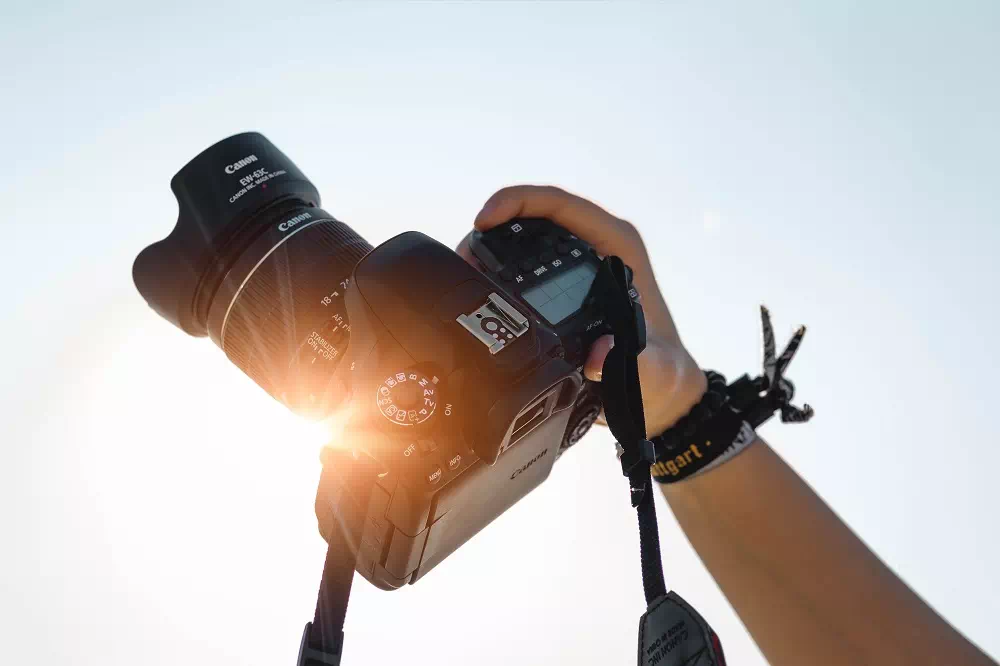
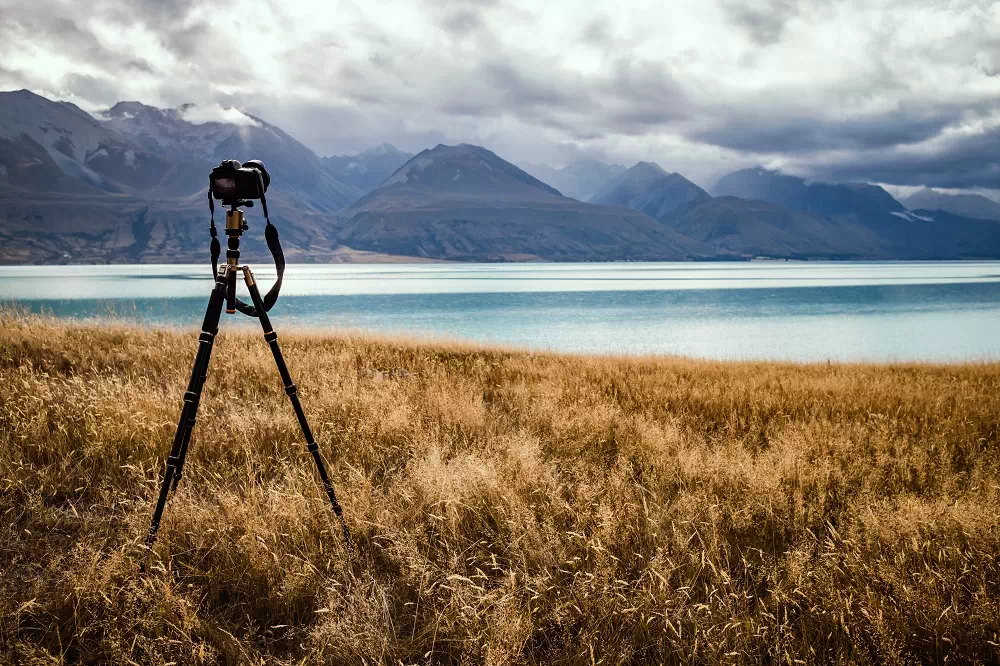
We know it does not belong to the post-processing steps, but we are including it in the list to tell you that editing is much easier if the raw image is of good quality. So, try to capture it as much flawless as you can. Keep the exposure accurate, maintain the light properly and maintain other camera settings mindfully. It will keep you one step ahead.
Keep a backup:

You must certainly do not want to lose your photos. So, it is always safe to import your images from the memory card to any cloud storage along with your computer hard drive. Some editing software makes changes in the original image, therefore, backing up is important. However, if you are using Lightroom the chances are few. Still, it is a friendly recommendation to keep a backup of your images.
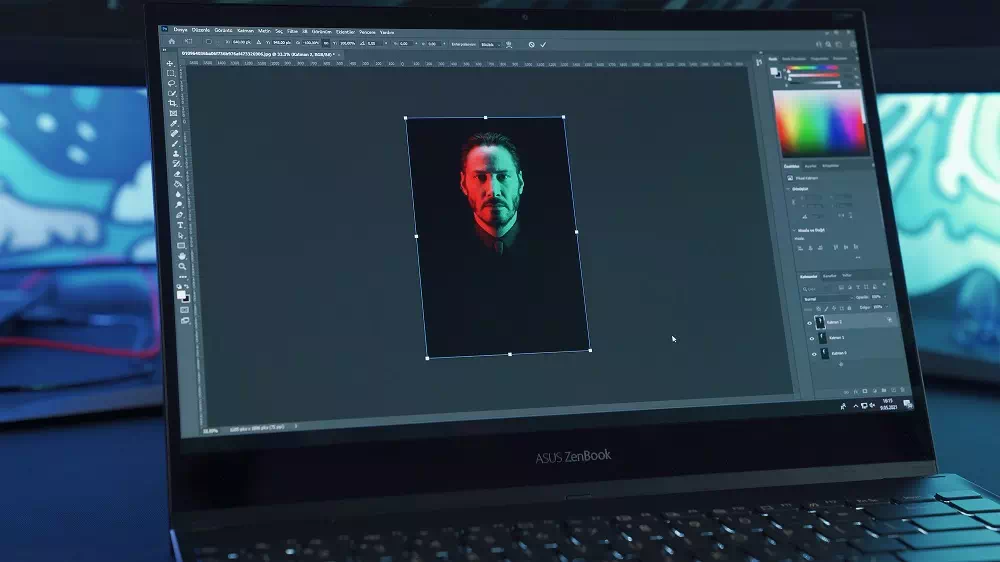
Choose a Software:

There are lots of photo editing software that you can use for your photo editing workflow. From free to paid, everything is available. Adobe Photoshop, Lightroom, etc. are undoubtedly professional but they require your money. If you are a beginner, there are lots of good-quality free editing software available. So, choose the one that you feel comfortable using.
Resize and crop the image:
Now you have come to the actual steps that you will have to follow through the editing software. But before starting anything else, resize and crop your image if necessary. Also, you may need to straighten the photo. So, in the very first step- do these things as per requirement- cropping, straightening, and leveling the horizon. The software may offer you gridlines which will help you complete the process much easier.
Fix the distortion:

Now is the time to correct the distortions that your lens makes. Since maximum lens tends to bring some amount of distortion, the step is necessary. For example, when you capture something with a straight line like the church pillars or some trees from a low height, you may notice the straight lines looks a bit tilted and not quite straight. This is one type of distortion known as perspective distortion. With Photoshop or Lightroom, the step can be done quite easily.
White Balance:

You may be familiar with those situations when you capture a photo with indoor light and that turns out yellow. Or sometimes you notice it is blue because of the flash. In those cases, you should know that the white balance is not properly applied.
Incorrect white balance makes the photo unnatural. To avoid that it is necessary to maintain a proper white balance. It is not always possible to do it through a camera because of the lighting variations. But through post-processing, you can make it correct.
Nowadays, all editing software allows you to correct the white balance through its settings. In Adobe Photoshop or Lightroom, you will get the option in “color correction”. Here, you will get a preset option that can quickly correct the white balance. Or else you can adjust the temperature or use the eyedropper tool.
Exposure:
So, what is it? Exposure means the amount of light that will reach the camera sensor or film. While shutter speed, ISO, and aperture affect the exposure greatly, sometimes they are not enough. In those cases, you will need to fix the exposure in the post-processing step.
You can brighten the photo or darken it through editing software like Adobe Photoshop or Lightroom. They offer “automatic” adjustments which can give you the desired result. If not, you can change the settings to get it right.
Contrast:
Contrast adjustment is a crucial step in post-processing. Sometimes, when you take images in the bright sun or you get too much bright indoor lighting, you end up getting low-contrast images. The proper Contrast gives your photo a realistic and, 3D look but high or improper Contrast causes more bad than good. It makes the image unnatural or saturated. So, give your attention to the adjustment of the Contrast.
Sharpening:

Sharpening is related to the contrast. It ensures the clarity of the small details in a photo. You can play with localized sharpening in this step. We don’t recommend overall sharpening now as sometimes sharpening causes you to lose the quality.
There are some options that you can experiment with such as Amount, Radius, Detail, and Masking. Do the final sharpening which is the overall sharpening of the photo after getting all other steps done.
Noise Reduction:

After sharpening, go for Noise Reduction since the sharpening process tends to add noise to the photo. However, when you shoot the photos in low lights or with high ISO, you get noise on your photos. Editing software offers noise reduction through an easy process. But too much application of the feature will make the photo unnatural and fake. So, leave some noise and you won’t regret it.
Lens Correction:
Even your lens sometimes can give your image some level of flaw which you will want to fix at his point. They are known as Vignetting and Chromatic Aberration. Using your editing software, you can easily get rid of them.
Vignetting adds a darker shade to the photo. Vignetting is not always bad or something that you must avoid. In fact, sometimes photographers intentionally add them for artistic values.
Chromatic Aberration or CA is a color distortion that adds an outline of different colors along with the edge of any object in the photo. It happens when there is a high contrast between the bright and dark objects in the photo.
However, if you don’t like your photos having Vignetting error or CA, you can remove them through post-processing in this step.
Retouching:
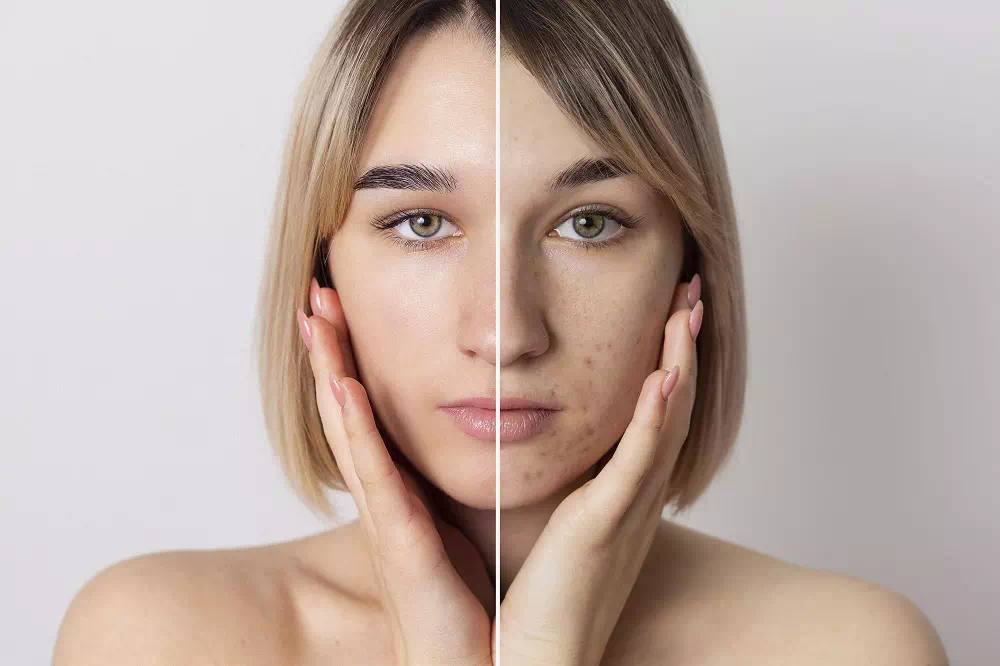
A final retouching will get rid of those unnecessary elements that make your photo look unprofessional. There can be a sensor dust spot or any background element that has been captured with the subject. In these cases, use Lightroom spot removal tool or Clone Stamp or Healing Brush from Photoshop.
We recommend performing this step in the final processes so that you can finally check the photo before finishing the workflow.
Apply Special effects:
This step is not always necessary. But if you want to add some stylish features or special effects to your photo now is the time. All of your photos may not require it. It entirely depends on your personal choice.
For example, Adobe Photoshop offers you numerous special effects that are fun and quite effective in bringing a new look to your photos. Adding Vintage Polaroid effect, creating the watercolor effect, adding Instagram filters, tilt-shift effect, retro effect, etc are some of the many special effects of Photoshop.
Resizing:

In this step, you will resize the images as per requirement. If you want to print them, increase the size. As web pages require a smaller size of photos, you can reduce the size now. The editing software will help you do it.
Final Sharpening:
Can you remember we told you not to do overall sharpening earlier? Well, now is the perfect time to do that step. As you are done with all the steps, a final sharpening will make the photo more flawless and professional-looking.
And with this step, you are done with the complete photo editing workflow.
But we are not done yet. We will recommend you to follow a few more steps like keeping a backup of the photos and sharing them online. However, these are your own preference for sure.
So, to sum up, these are the steps that you should consider following while you are working on making your photo editing workflow. It is generally personal but since photo editing is no different than baking a cake where the order to add ingredients is necessary, you should not mess with the steps and their orders. Practice more and you will develop your photo editing workflow as a professional photographer.


