Vectorizing an image or logo is one of the most popular practices in vector conversion and drawing. People or companies have a high demand for the service to get distortion-free images or logo files.
Either you are a vector designer or an owner of a company, both of you have a common asking about the process. Here we describe a tutorial to fulfill your expectation.
How to vectorizing an image
We have made the tutorial by using the vector design software Adobe Illustrator CC. We brief step by step process. Both the client and designer will get help from the tutorial to know the detail. Let’s explore-
Step 1:
Import a logo in Adobe Illustrator’s artboard. Setting up the Layers and Stroke.
Step 2:
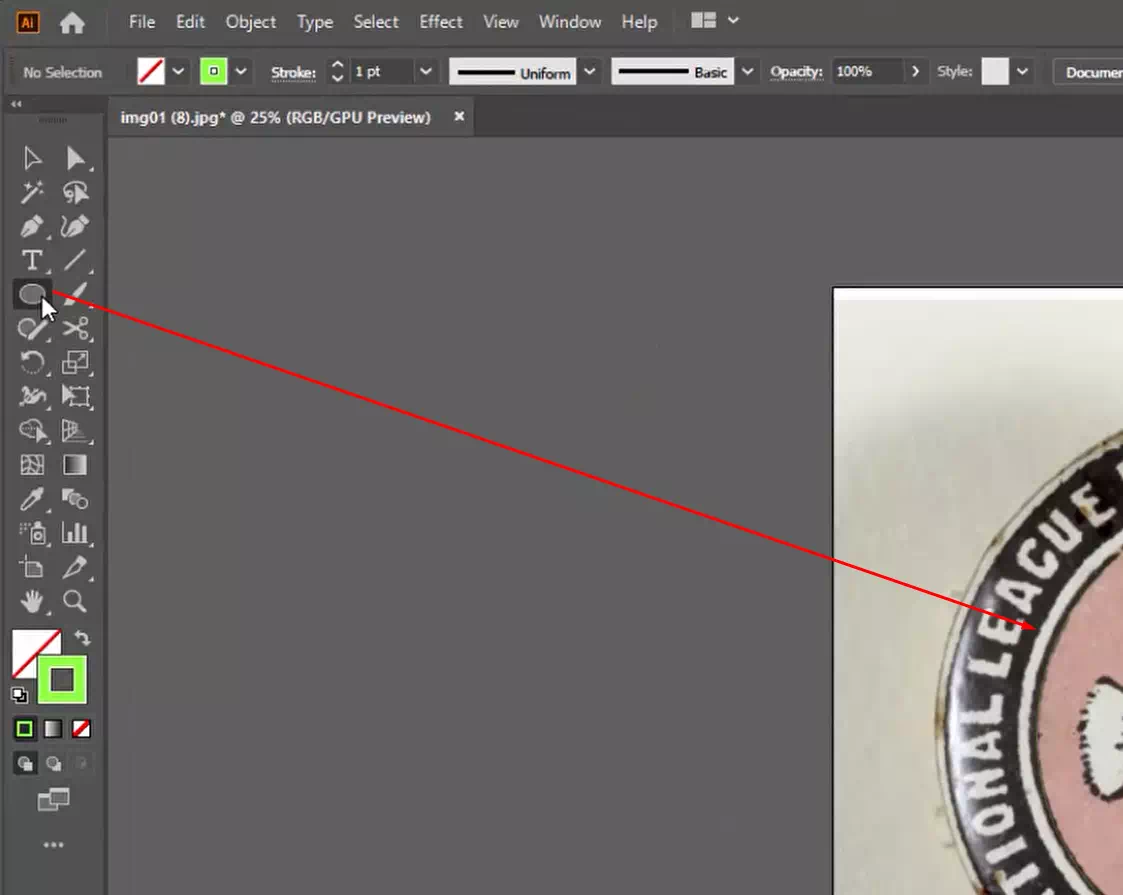
Select the Ellipse Tool. Draw inner circles at the very beginning.
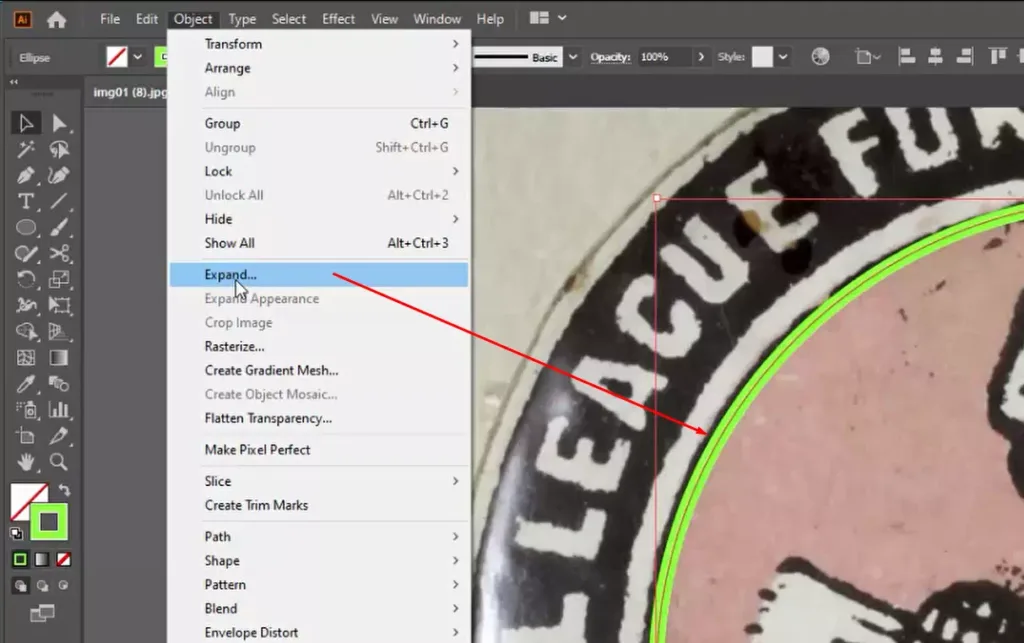
Transform stroke to the path. To do that go to ‘Object’ and select ‘Expand’. Now, draw all the circle paths by using copy and paste.
Step 3:
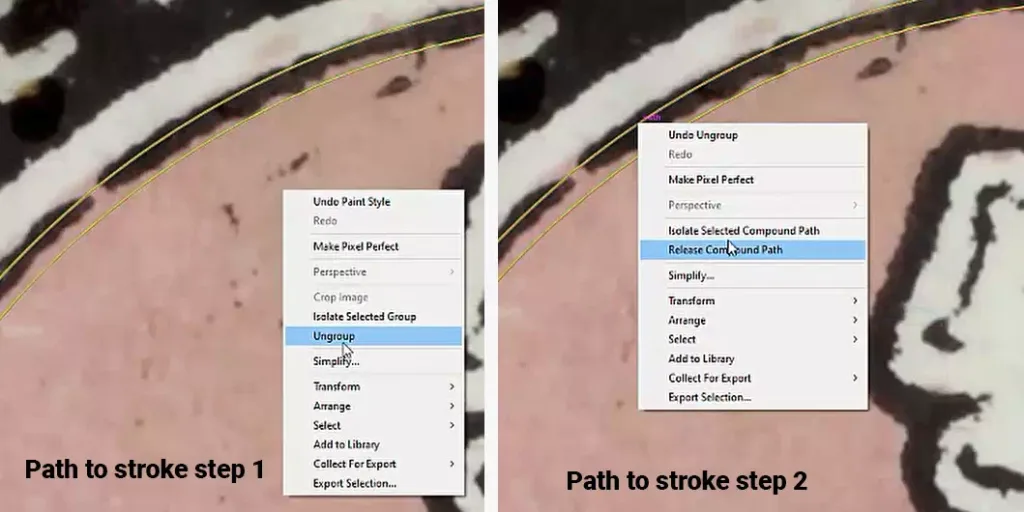
At the very next, ‘Ungroup’ the drawing path and select ‘Release compound path’ to switch Stroke for flexible work on.
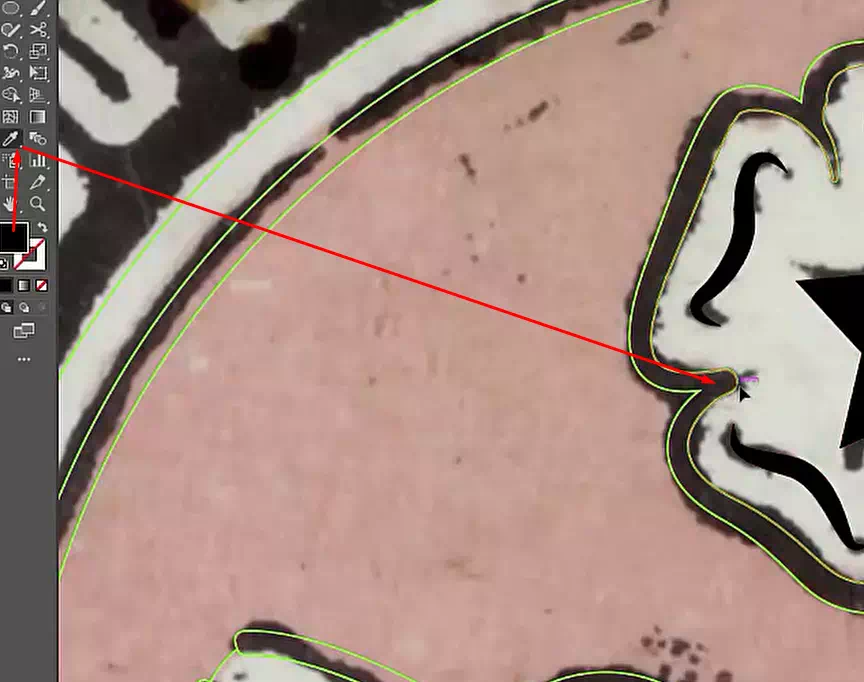
Step 4:
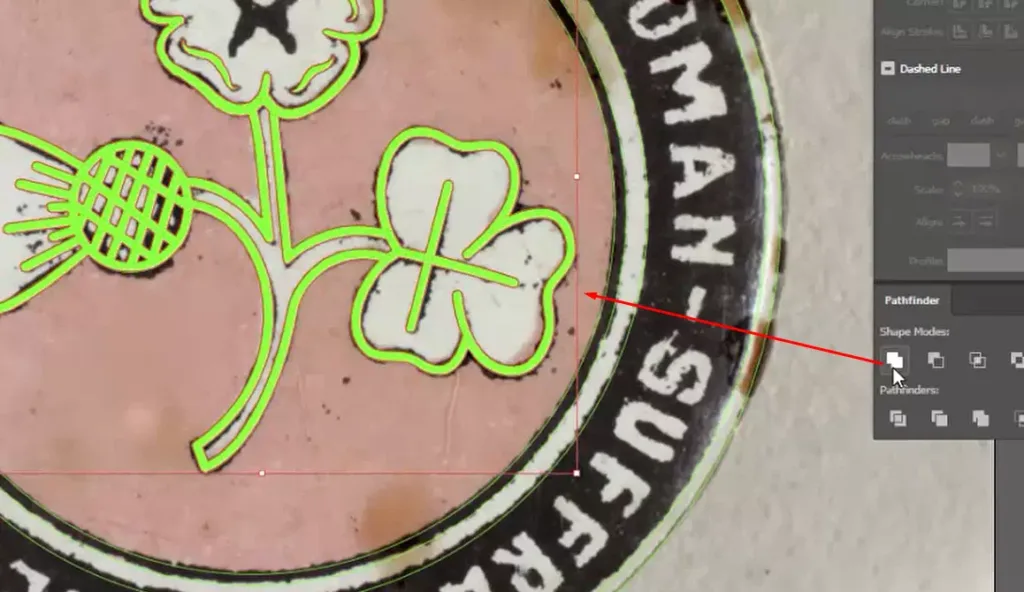
Now, the most important task we do. Select the ‘Pen Tool’ for drawing the path line by line. We may need the ‘Width Tool’ for reorganizing the shape. Press ‘Shift+W’ to select the tool. After finishing the path line drawing we should use ‘Pathfinder’ to create the path arrangement.
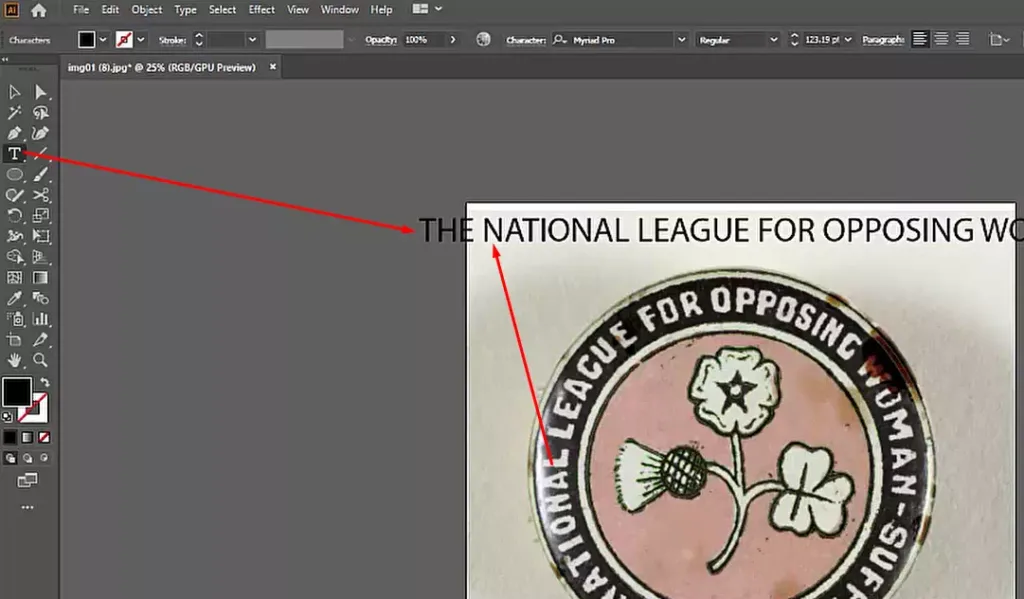
Step 5:
Logo might have text like we choose the one. So, ‘Type Tool’ would be a perfect solution here. Type all the text, select the right font, and finally use the ‘Create Outline’ option to convert it into a path for solving the unmatching font problem in the future.
Step 6:
Let’s colorizing the vector drawing. ‘Eyedropper’ is the easiest tool to do that. Select manually or press ‘I’. Pick the color from the logo and fill the vector portion.
Step 7:
After finishing the colorization, group all portions of the vector drawing. Separate the logo/image & vector file and save the file. We can export the output as a need.
Hopefully, the briefing might fulfill your expectations. Share your experience with us and send your asking for the next tutorial.
You can also watch the video here.


