
Blur image is not always frustrating. You might find delight in disorder often. In photo editing services, the designers and editors always try to resolve the image issues like fixing the blurred image. Sometimes blurred images can be artistic. Photoshop blur background can be a great presentation of images.
Focusing on the subject and keeping all other areas blurred is a feature of DSLR. Sometimes you may capture images without focusing on the subject. The clear detail in a product image or model image may distract the audience to keep the attention on the product image. Designers help here the e-commerce product retailer or owner by creating blurred backgrounds in Photoshop.
Let’s dive to know how to blur background in photo-
Open an image in Photoshop.

Go to the File option from Photoshop. Take the image and duplicate the layer. Hide the bottom layer and keep the top layer selected.
Select the Quick Selection Tool
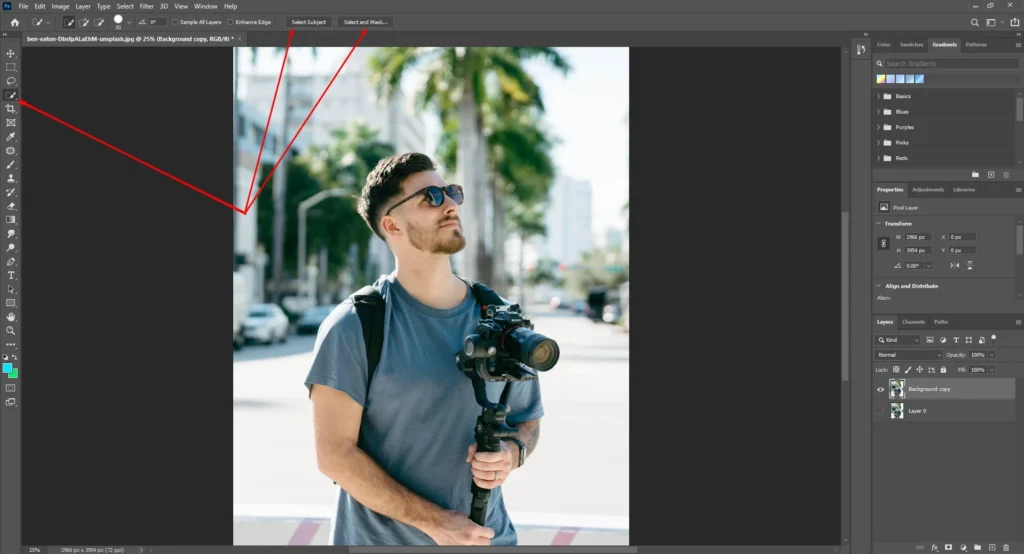
Once you will take the quick selection tool, you will get the Select Subject and the Select and Mask option. The Select Subject tool will select your image subject and the masking tool will remove the background.
Hit on the New Layer with Layer Mask
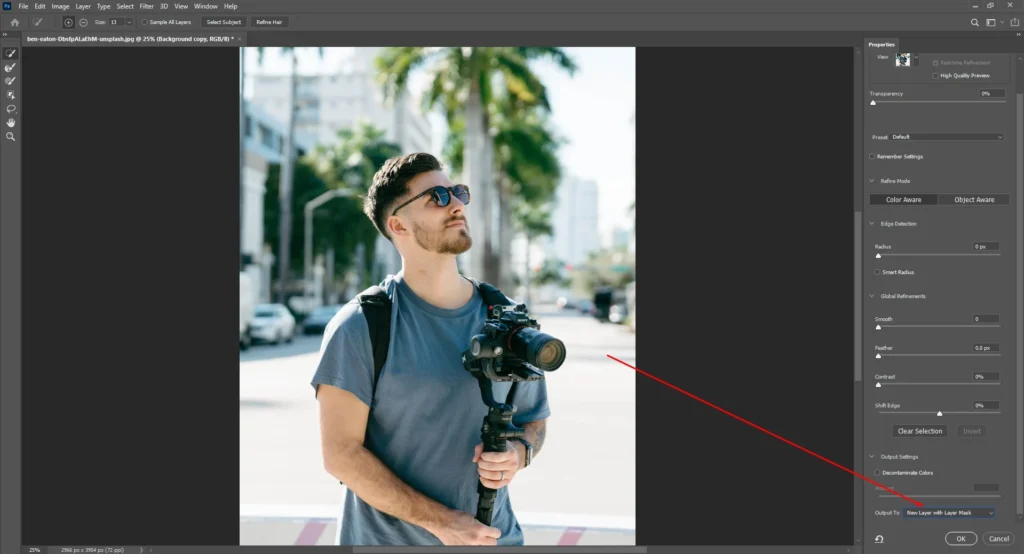
Clicking the layer mask option, you will get your image has got a new layer with a transparent background.
Get a new layer at the top of the layer panel with background removed subject.
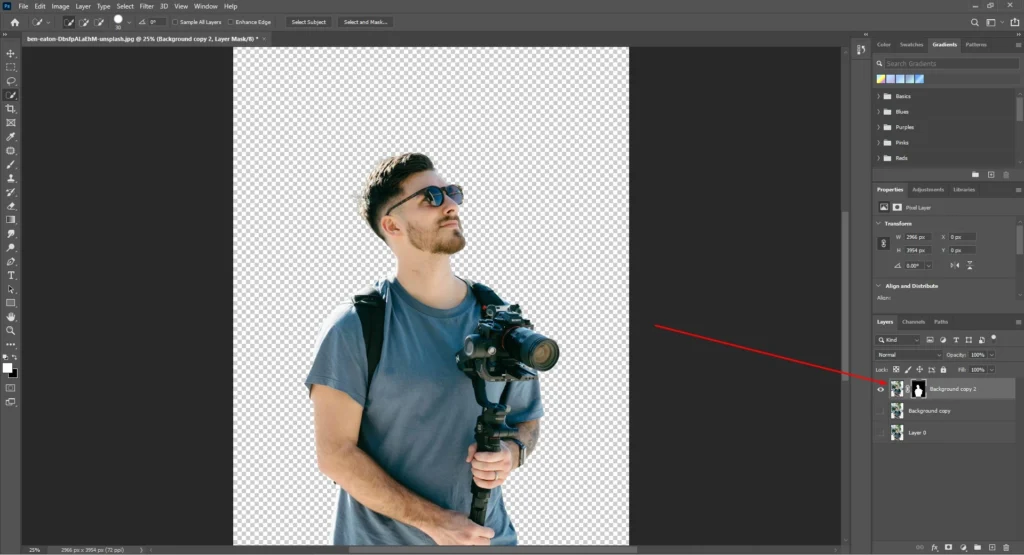
See, the above image. We have got the background removed and a masked layer.
Hide the top layer and unhide the middle layer.

Now it is time to create the blurred background.
Use Lasso Tool and Content-Aware tool
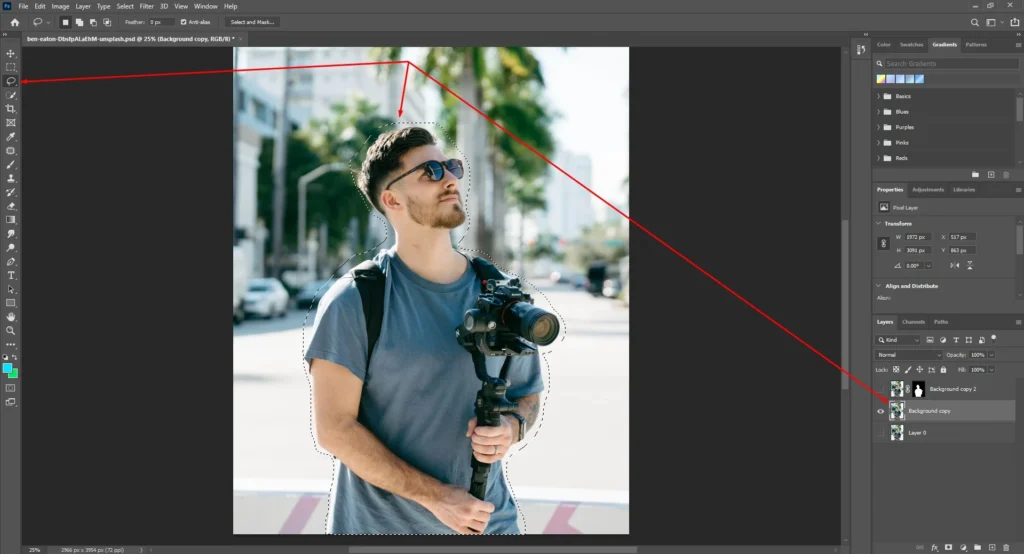
Select the middle layer. Take the Lasso tool and draw a line around the subject.
Go to Edit, then Fill
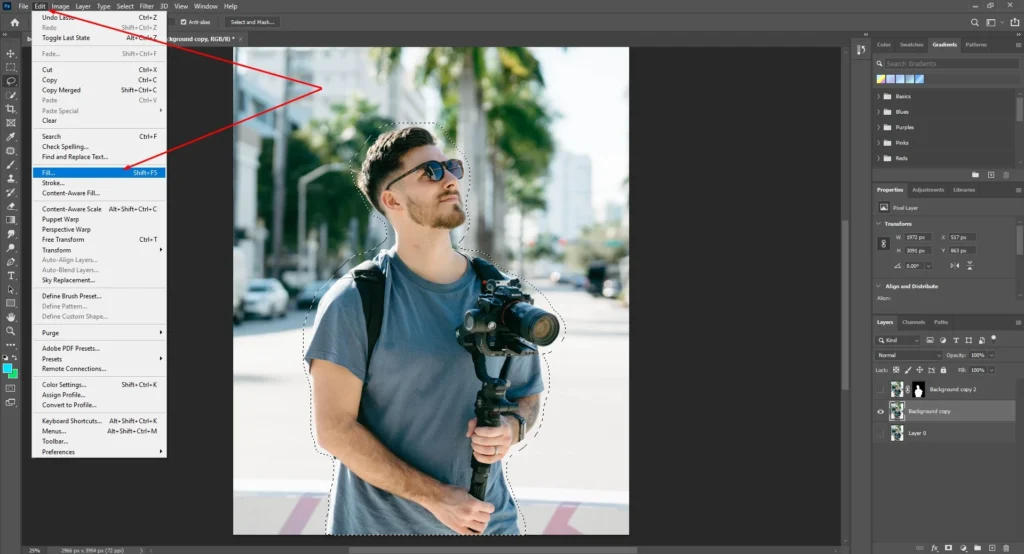
When you will draw a line around your subject, your image will get selected.
Click on the Fill and select the Content-Aware
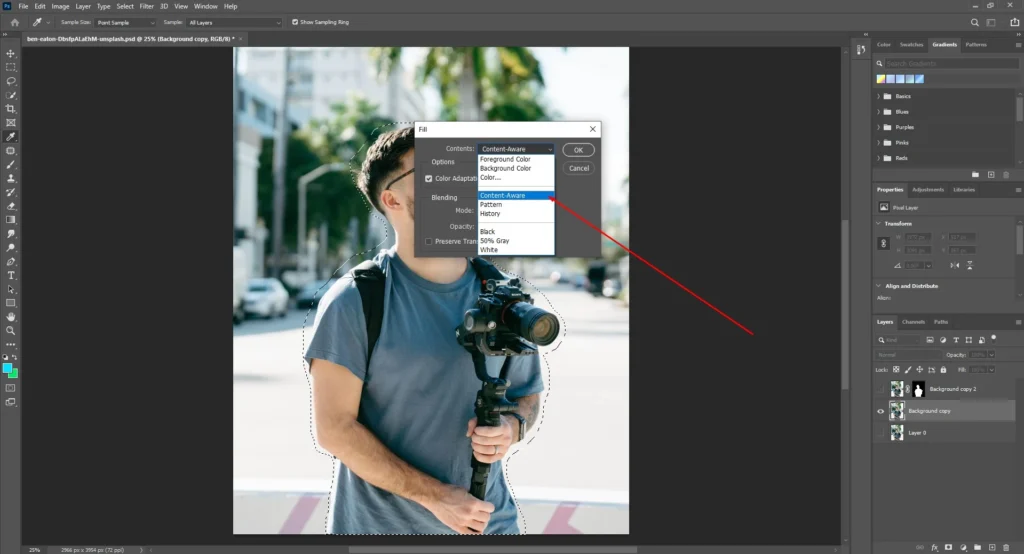
From the fill dialog box, select the content-aware option and hit the OK button.
Get an image without your subject.
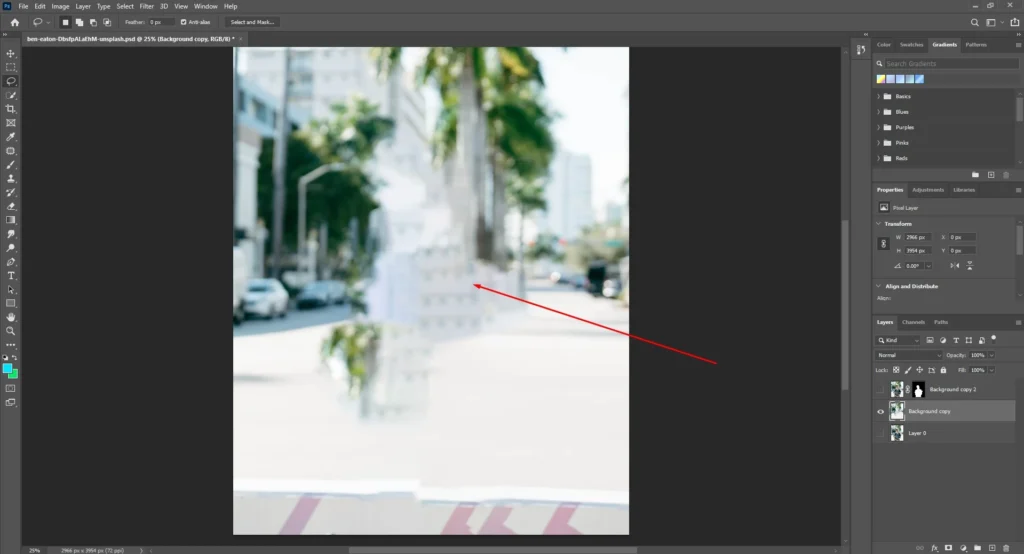
See, your subject has got vanished. Now follow the next steps.
Go to the Filter option, click on the Blur
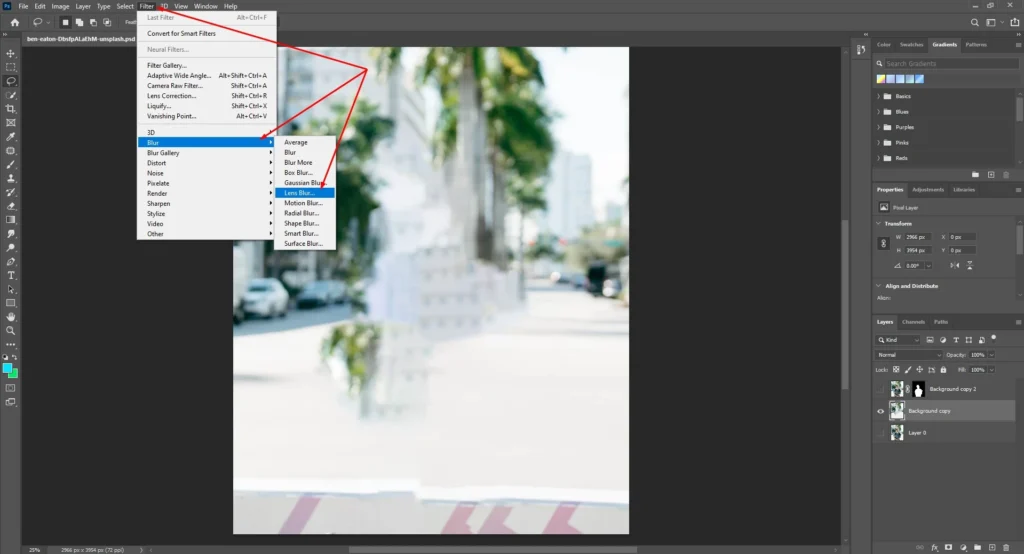
From the filter option, go to the blur option and click on the Lens blur.
Change the values as shown in the image below.
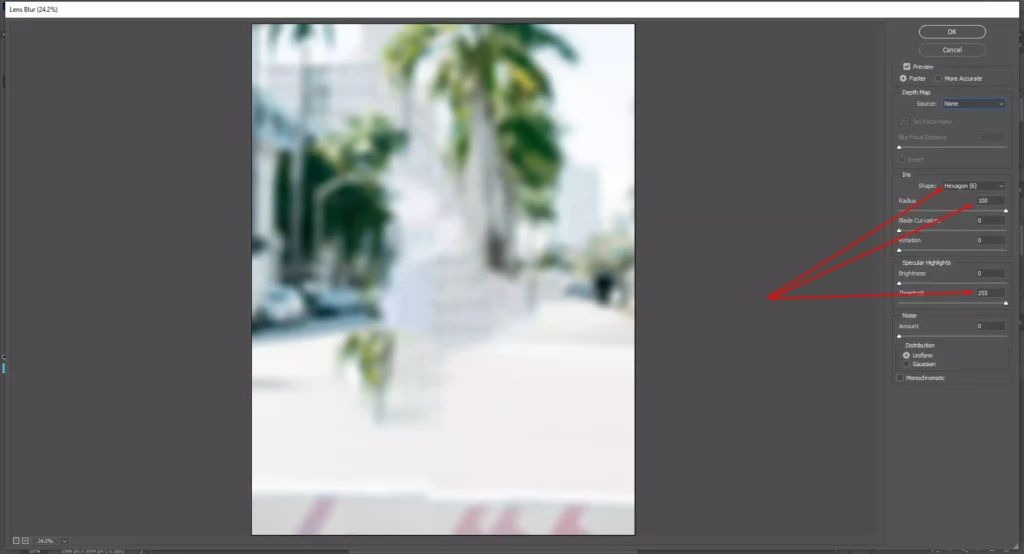
Select the Hexagon (6), keep the Radius 100, Threshold 255 pixel.
Get the final output of this tutorial.
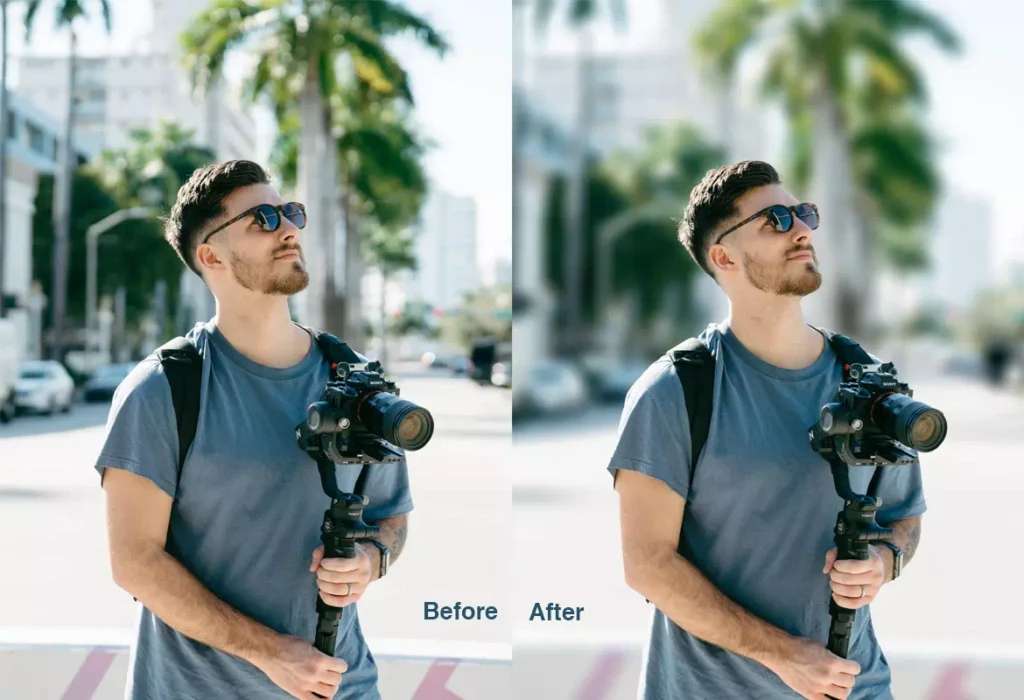
This is the basic way of creating a blur backdrop of an image.
Maintaining some other techniques, you can create blur part of an image.
Creating blur effects in an image in such a way is a professional method of making blur backgrounds. You can apply this system to your client’s projects.
However, we provide all types of image retouchings. If you feel the necessity to get your personal images to look awesome, you can send us. We would take care of your images.


